Building an App with Selene — A Step-by-Step Walkthrough
Walk through setting up Selene from scratch, configuring vector search, and building a complete Swift card game from a single prompt.
On this page
Selene is a desktop app that lets you run AI models locally on your machine — similar to Claude Code or Codex, but self-hosted and open-source. You own everything. No telemetry, no tracking, no logs sent anywhere.
This walkthrough covers the full setup: installing Selene, configuring an LLM provider, enabling dev tools, setting up vector search, and building a complete Swift app from a single prompt.
Installation
Grab the latest release from GitHub. Mac builds (Intel and Apple Silicon) are signed by Apple. Windows builds are not — expect a security prompt.
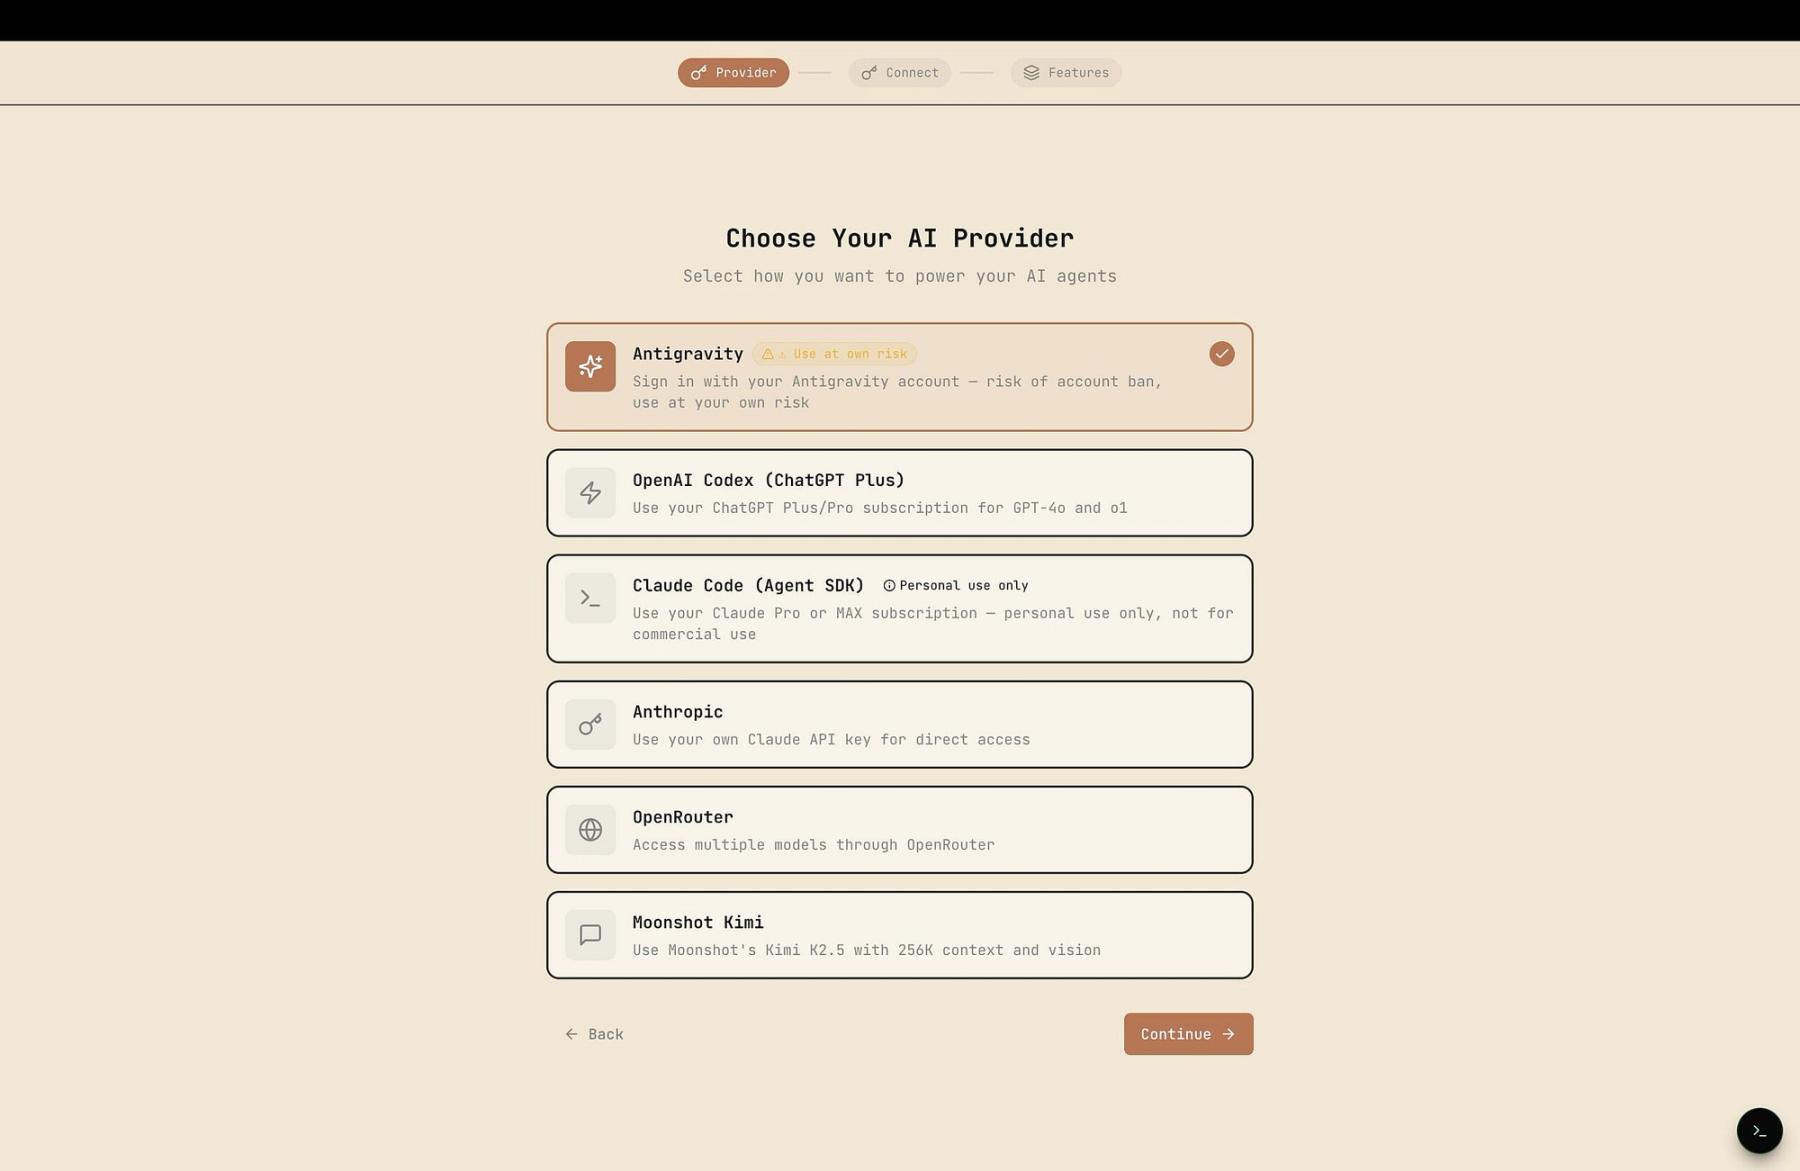
On first launch, pick your LLM provider and follow the setup flow.
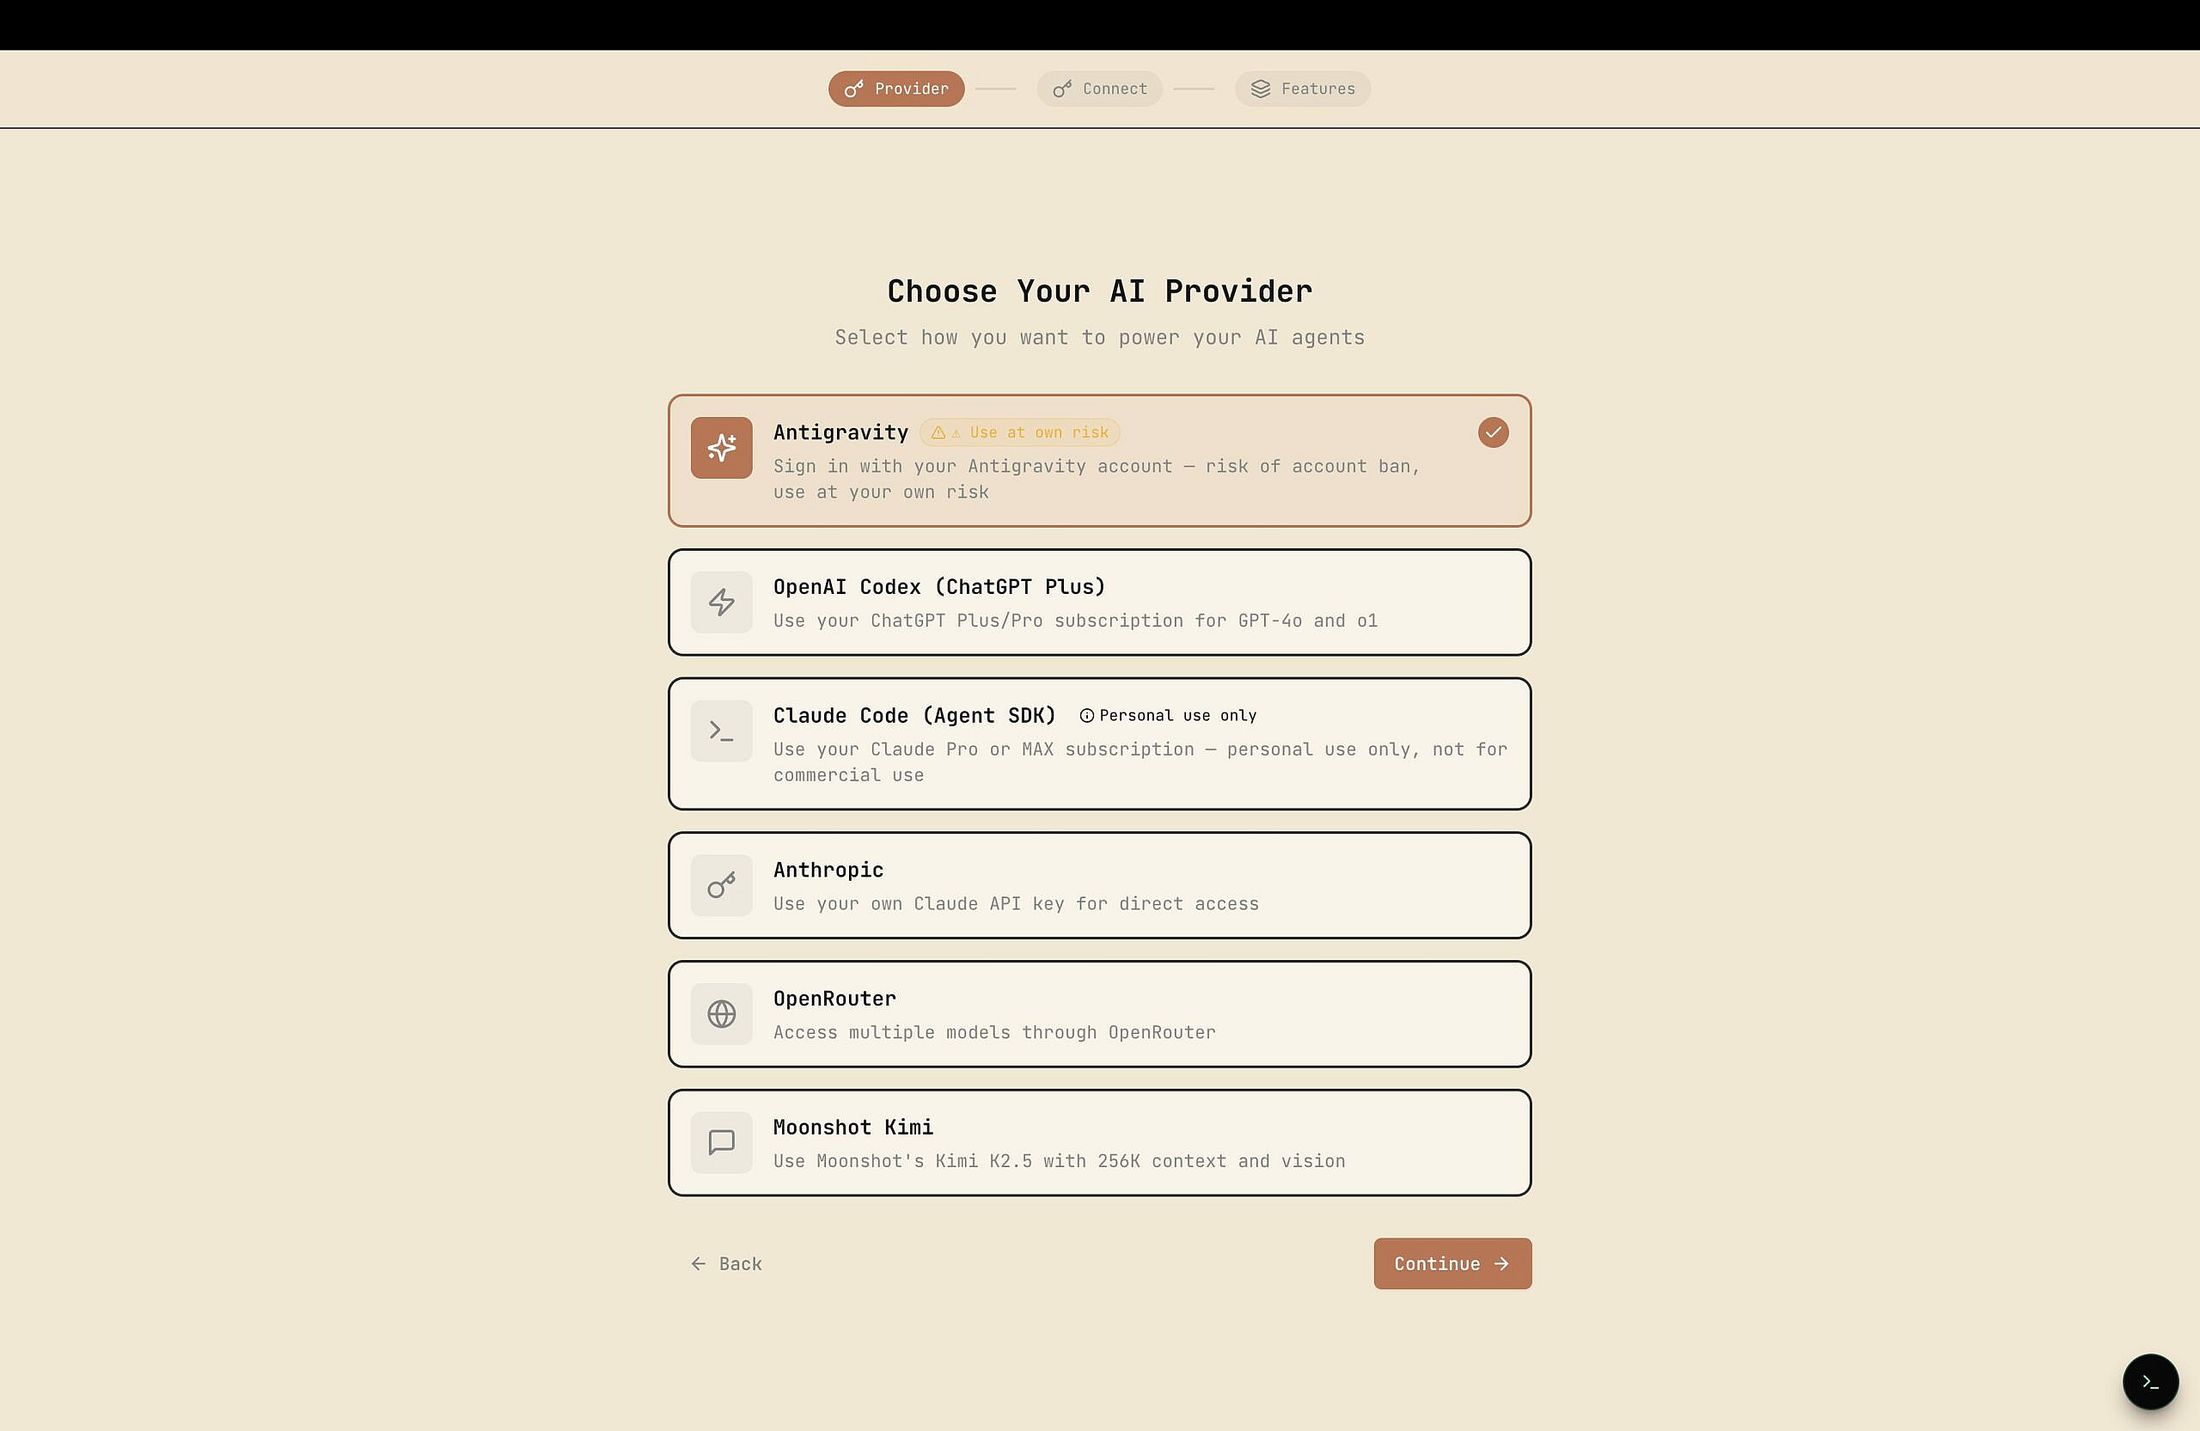
Provider Notes
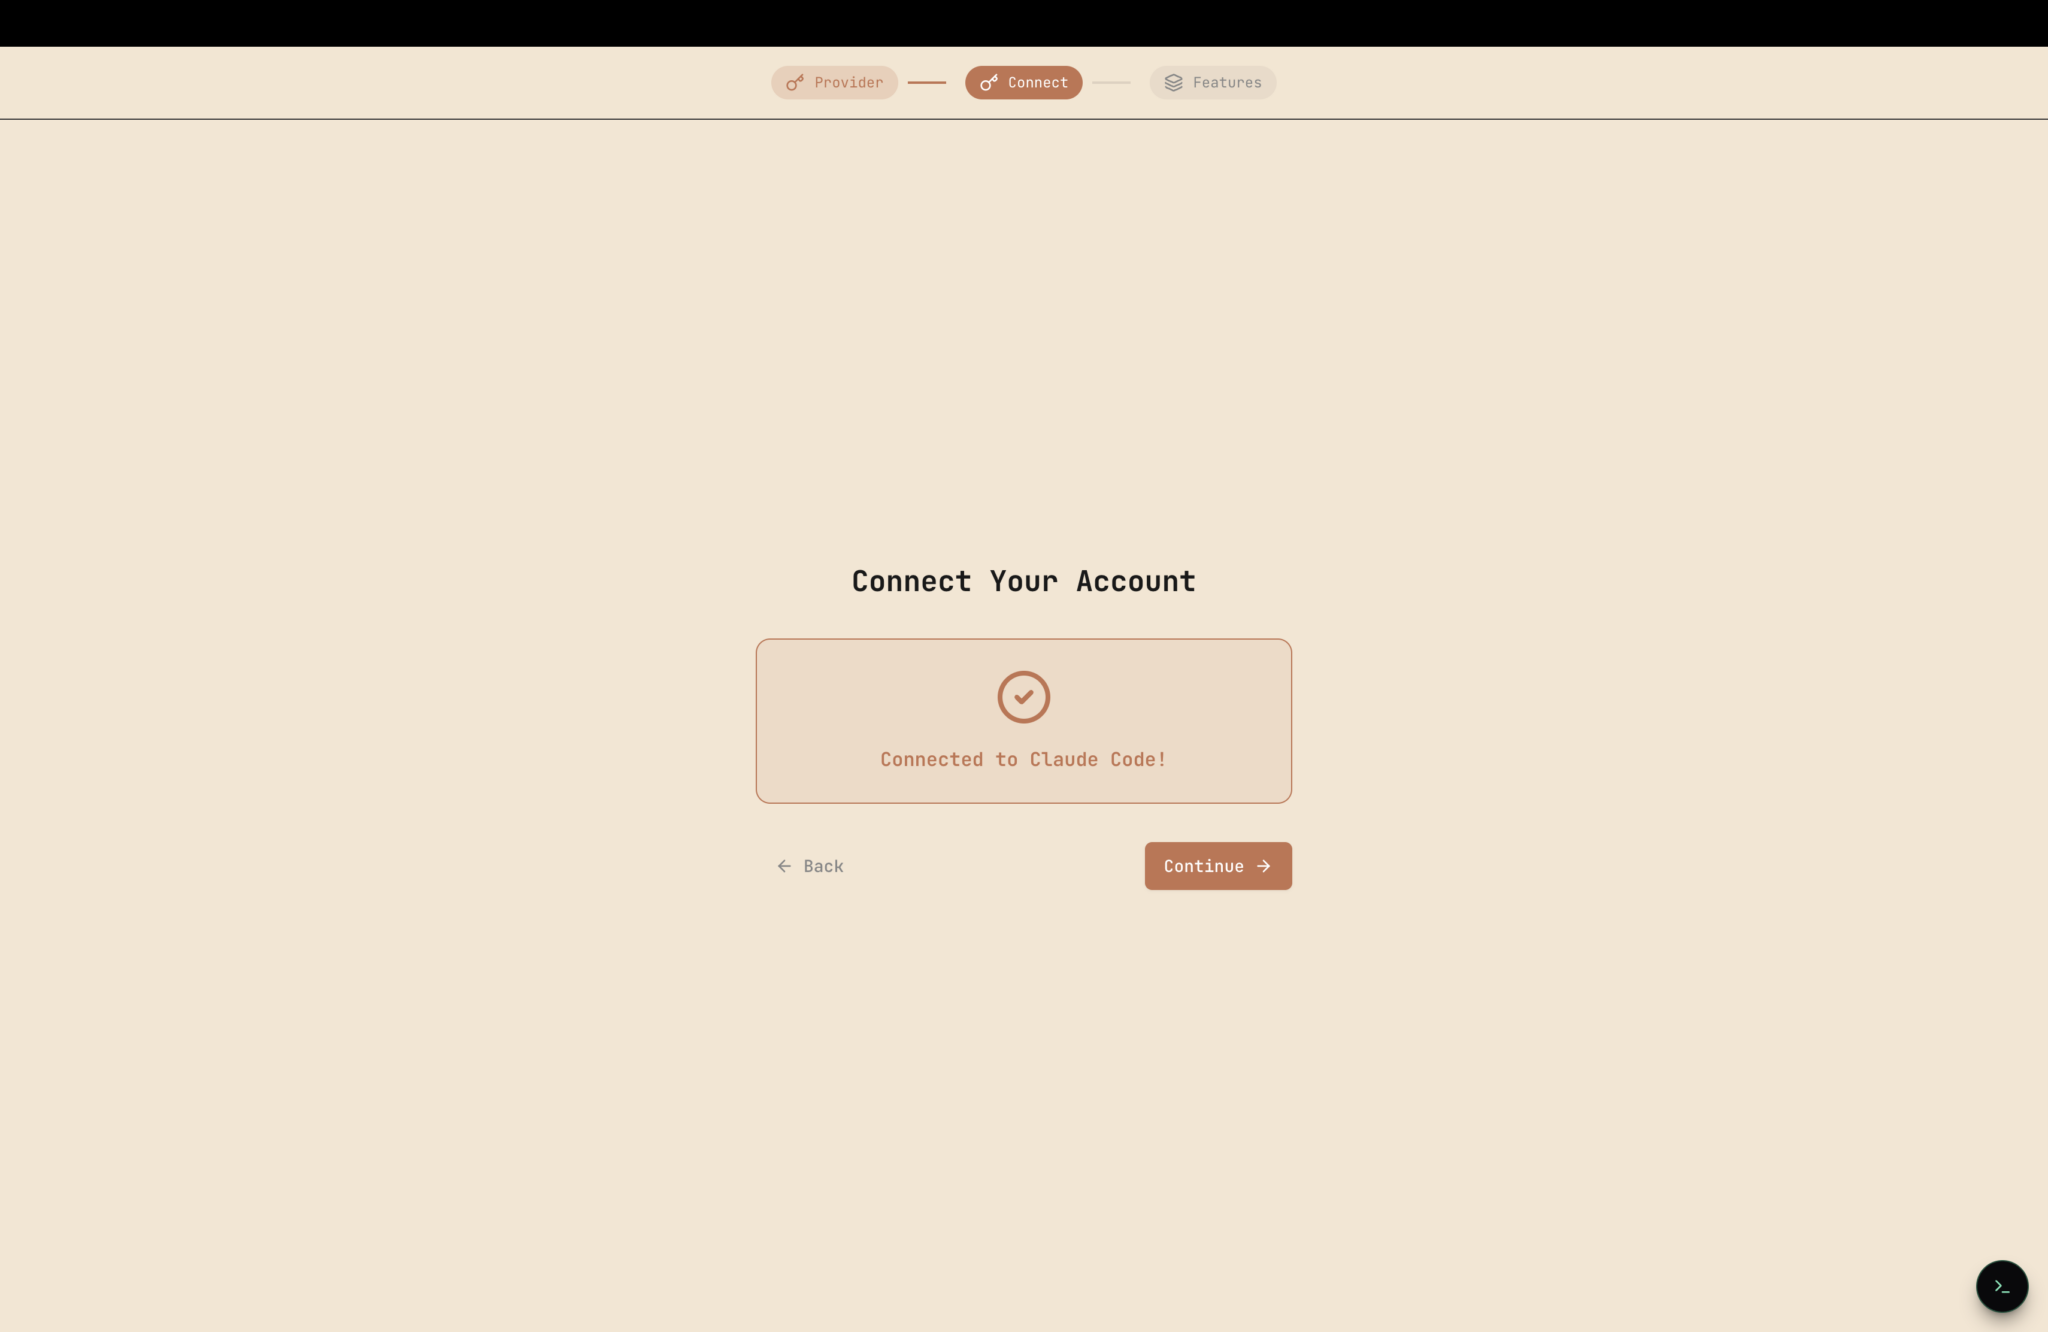
Claude Code (Agent SDK): If you're already logged into Claude Code on your machine, Selene picks up the session automatically. No extra config.
Antigravity: Skip it. Google has been banning accounts that use it. If you insist, use a throwaway account — not your primary Google login.
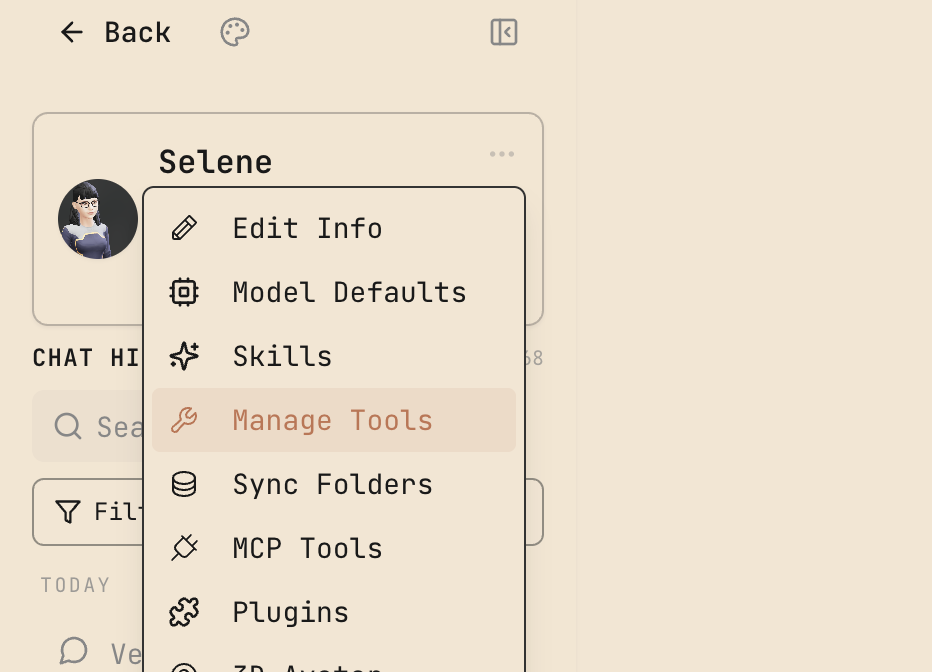
Dev Mode Configuration
Head to the Selene Dev settings card and toggle these on:
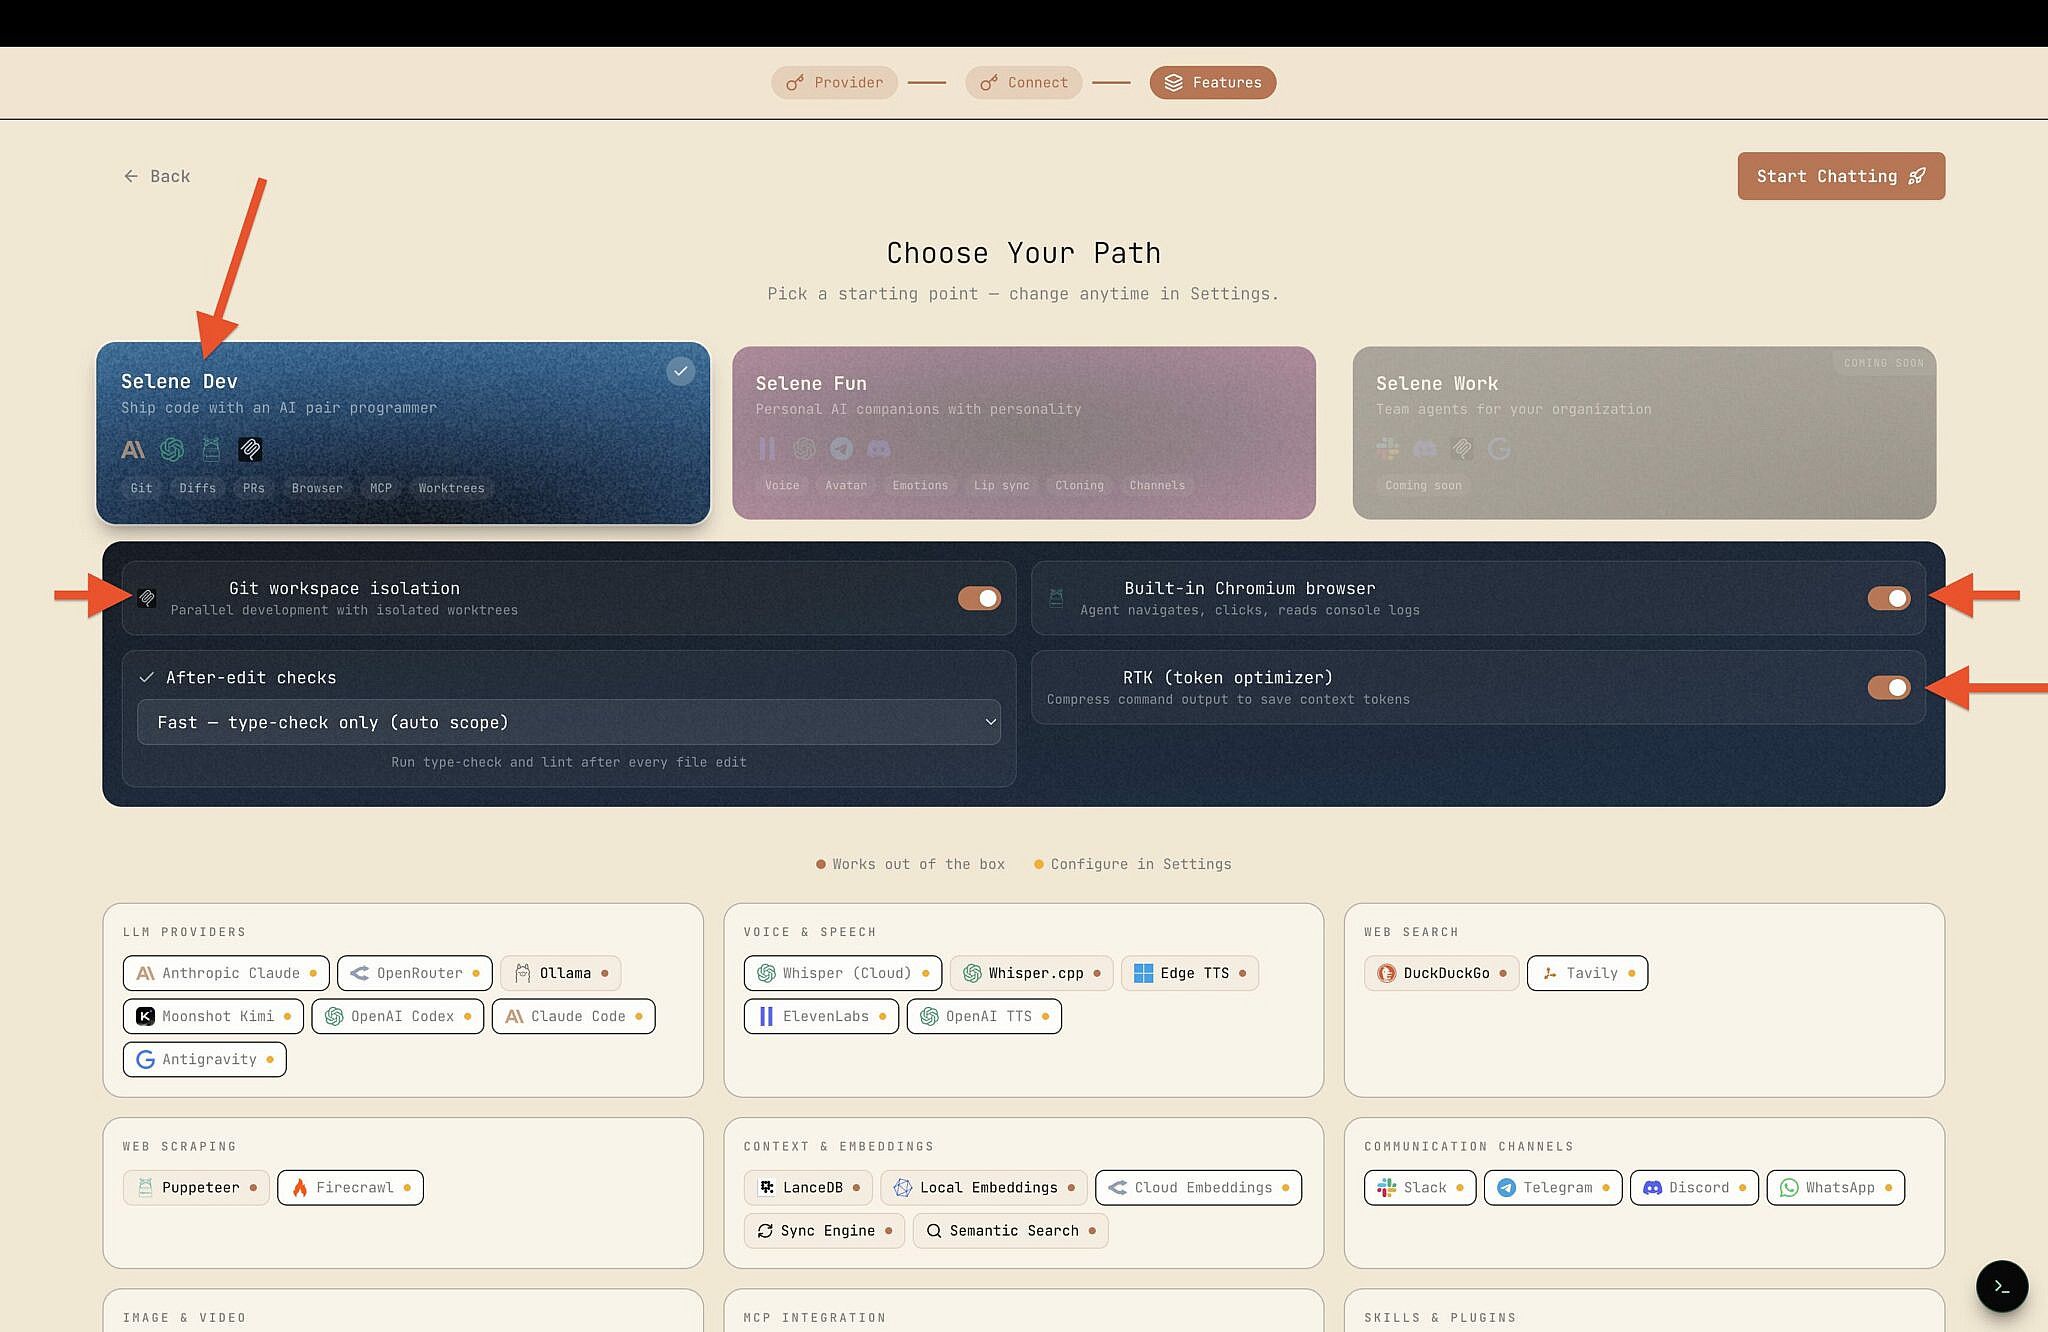
Git Workspace Isolation — Each task gets its own isolated workspace via git worktrees. The agent works in the worktree, then opens a PR back to your main branch. Useful when running parallel tasks where you don't want branches colliding.
Built-in Chromium Browser — Lets the agent interact with web pages directly. "Open this URL and fill out that form" type tasks.
RTK (Rust Token Killer) — An open-source library (github.com/rtk-ai/rtk) that optimizes terminal output when agents run shell commands. Cuts noise, saves tokens.
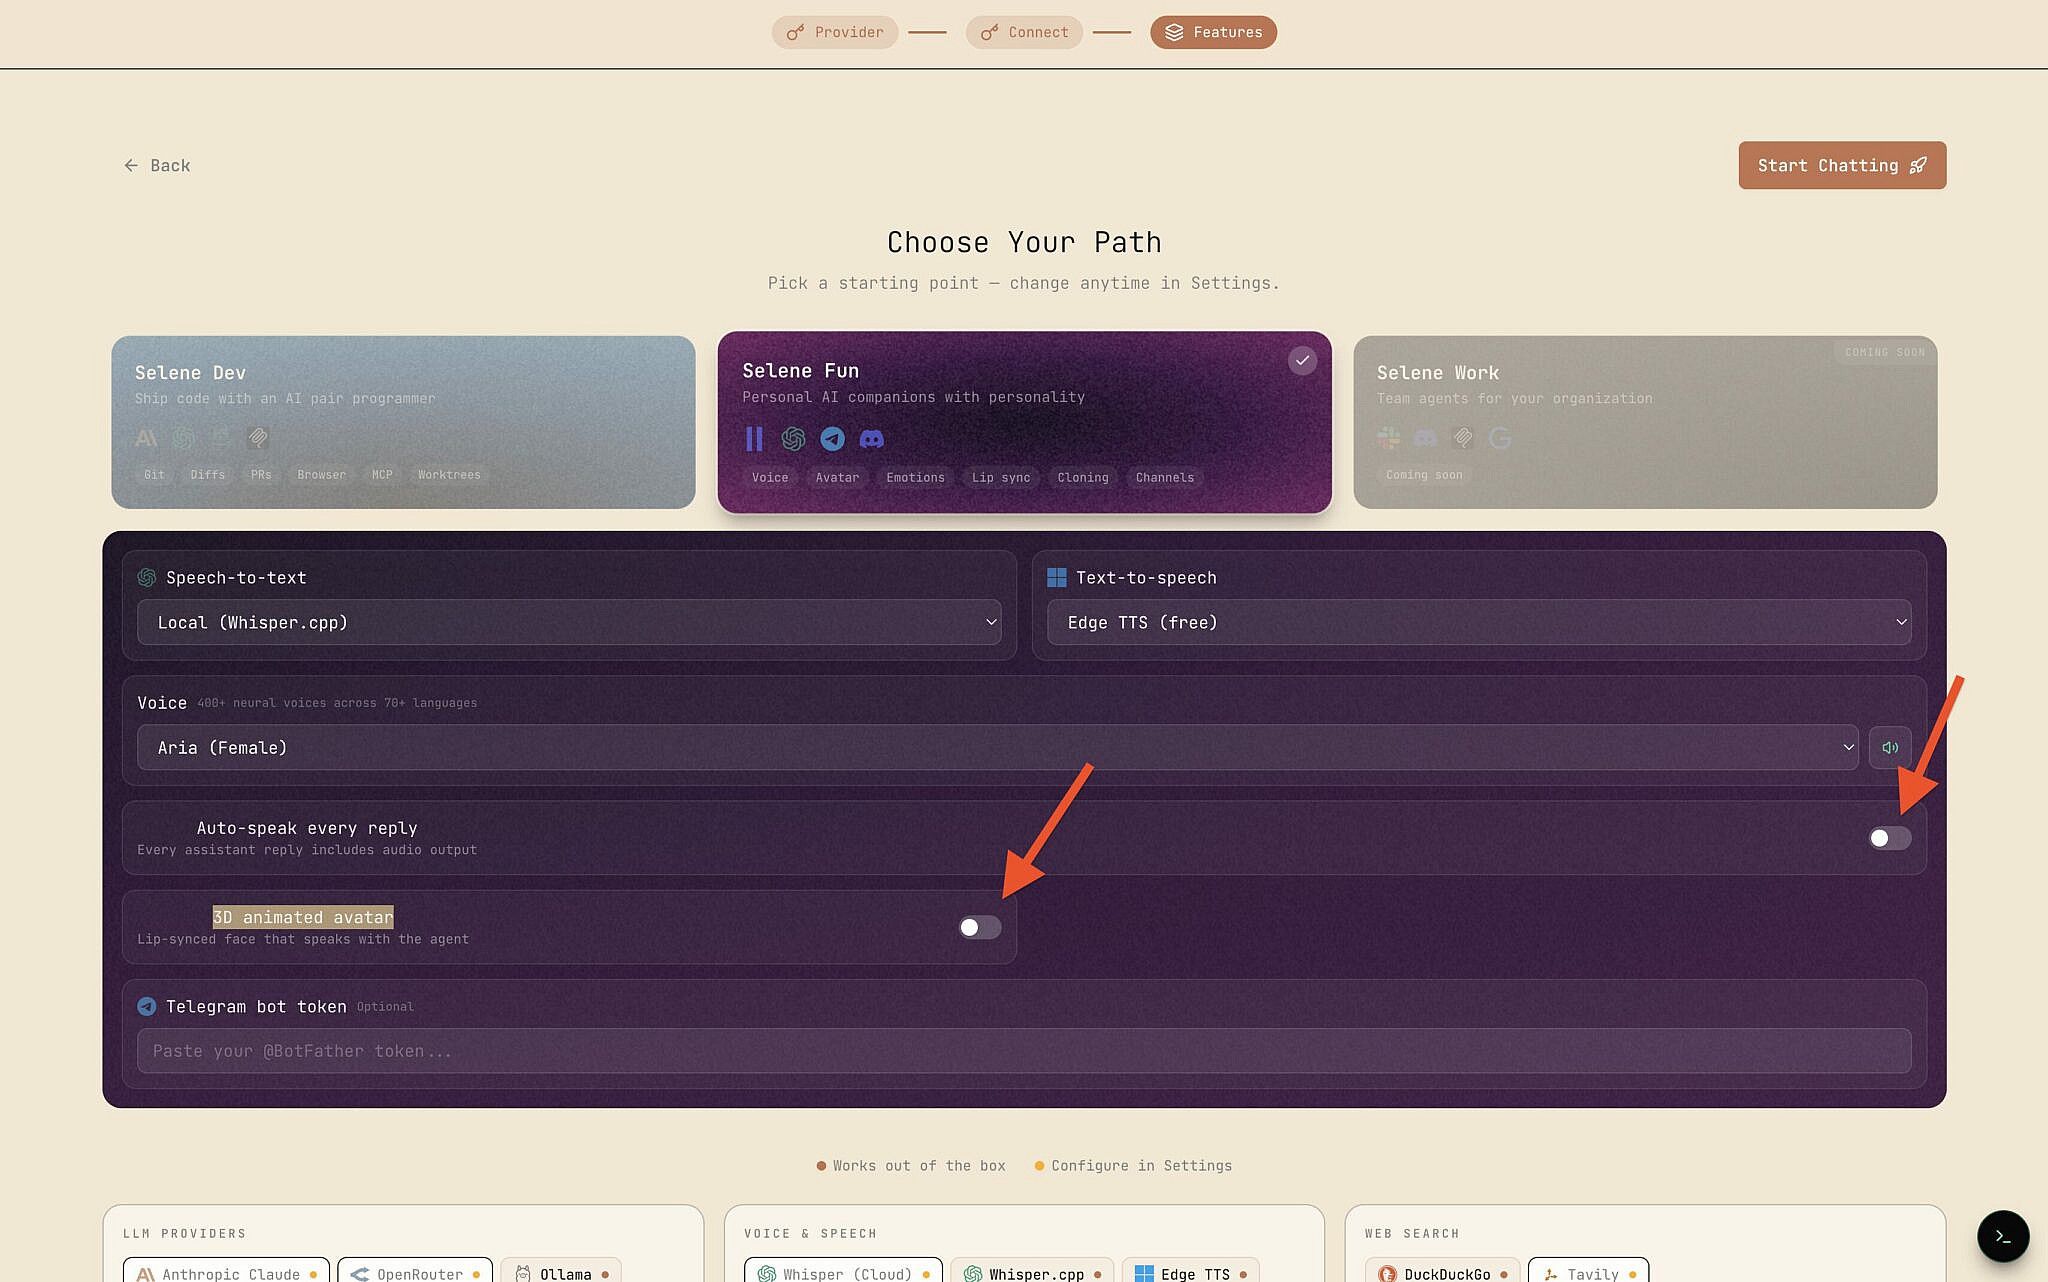
Under the Selene Fun card, turn off Auto-speak every reply and 3D animated avatar unless you want the full experience.

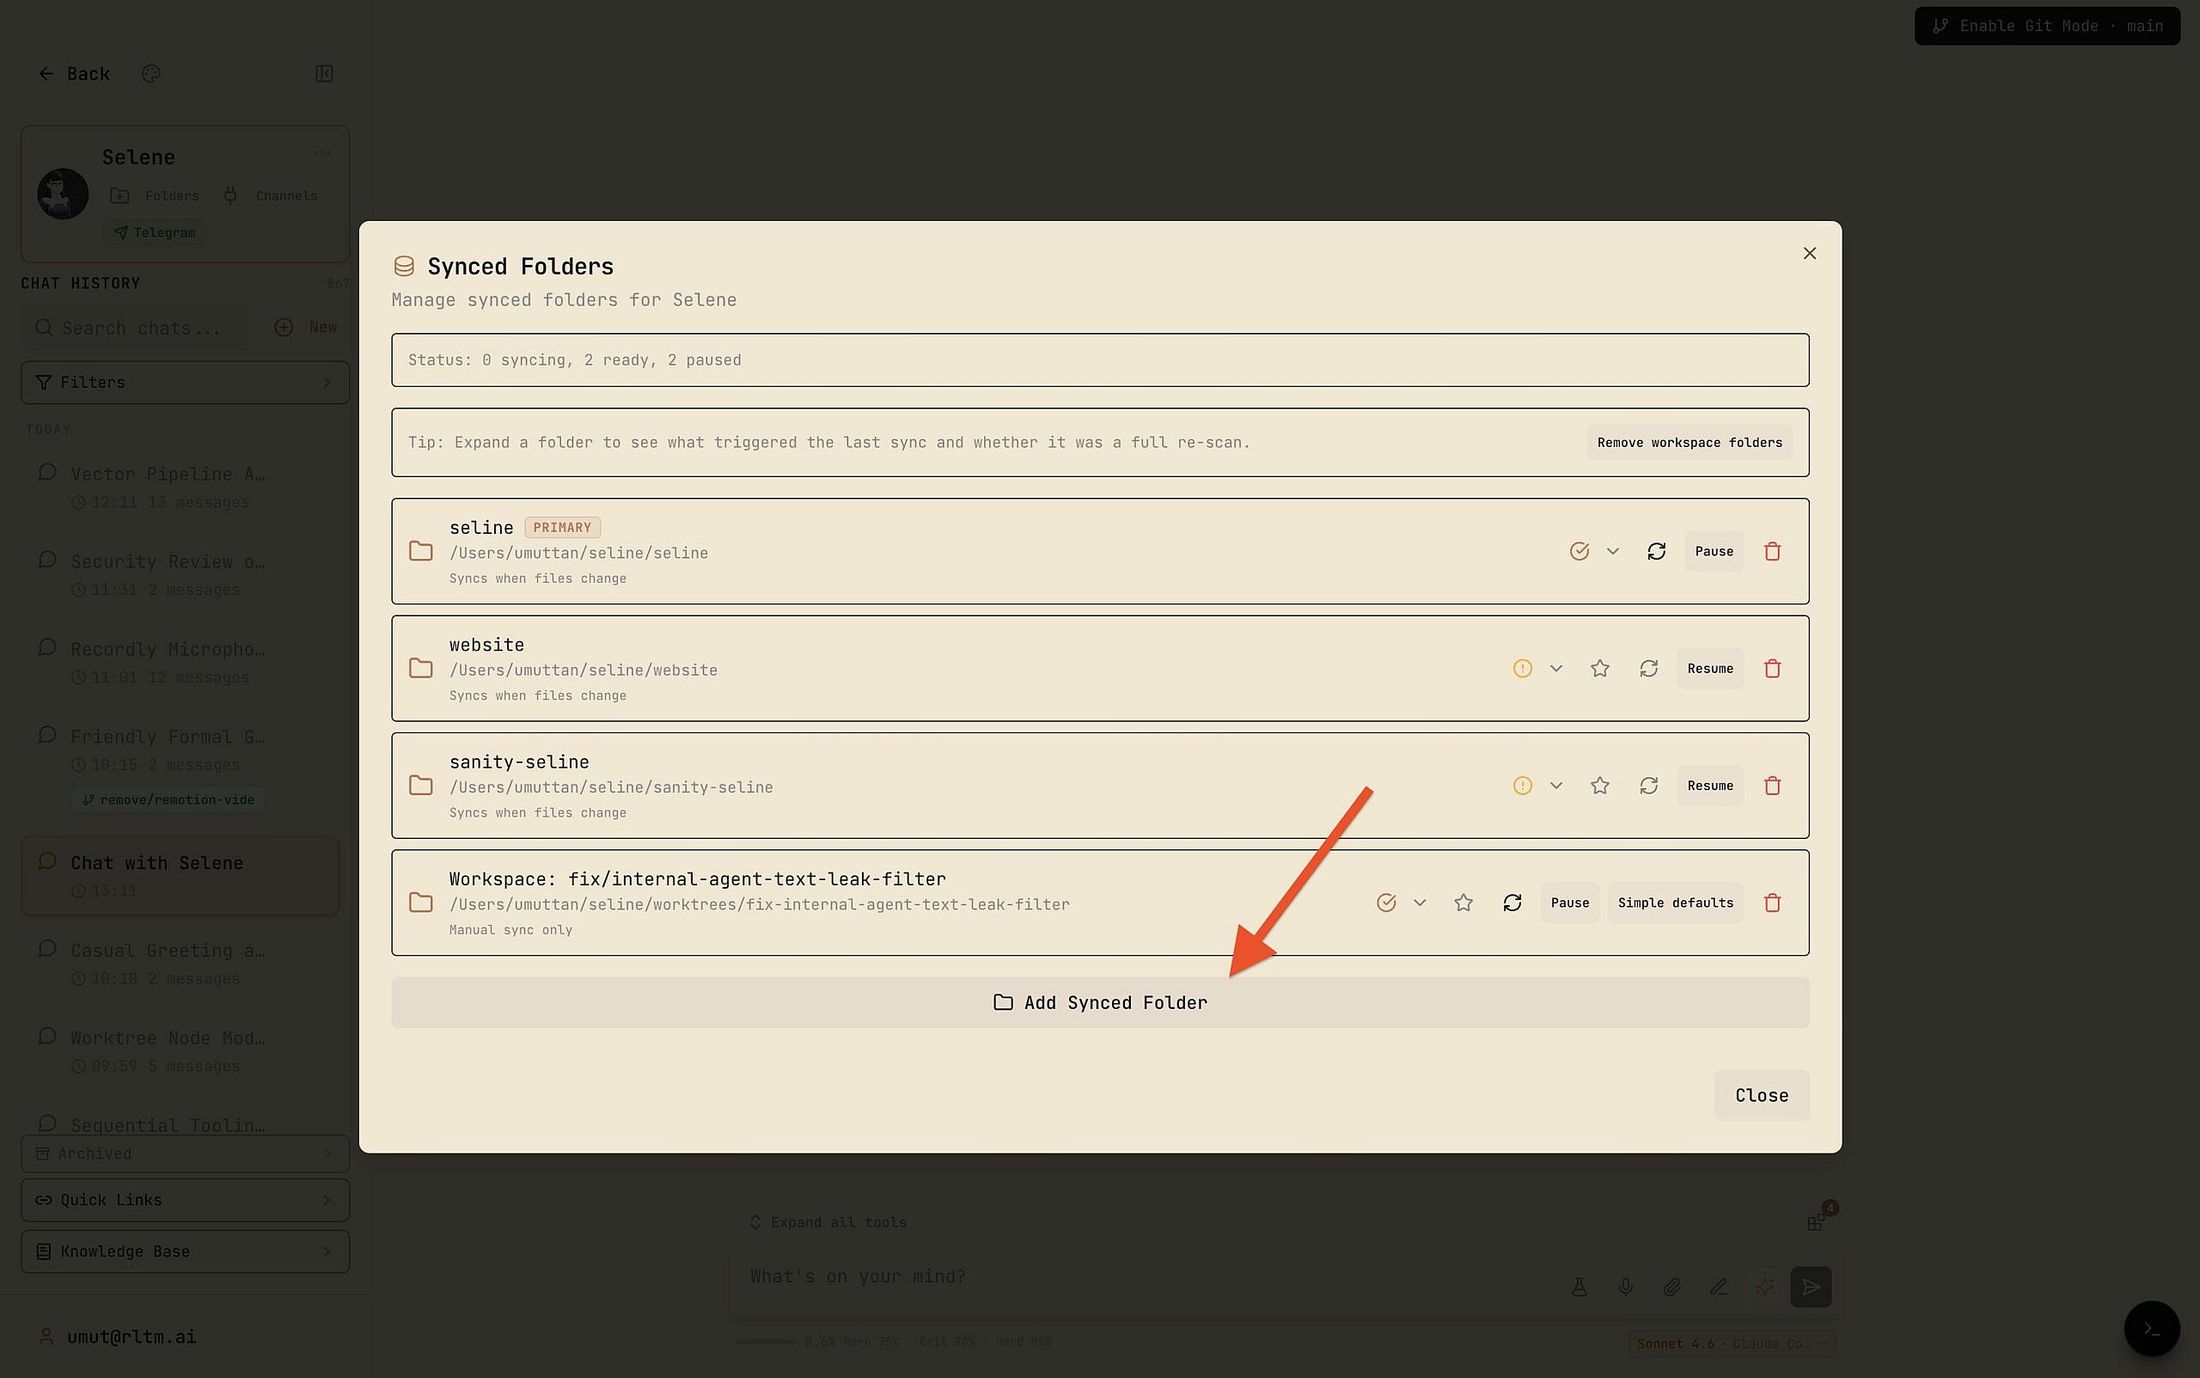
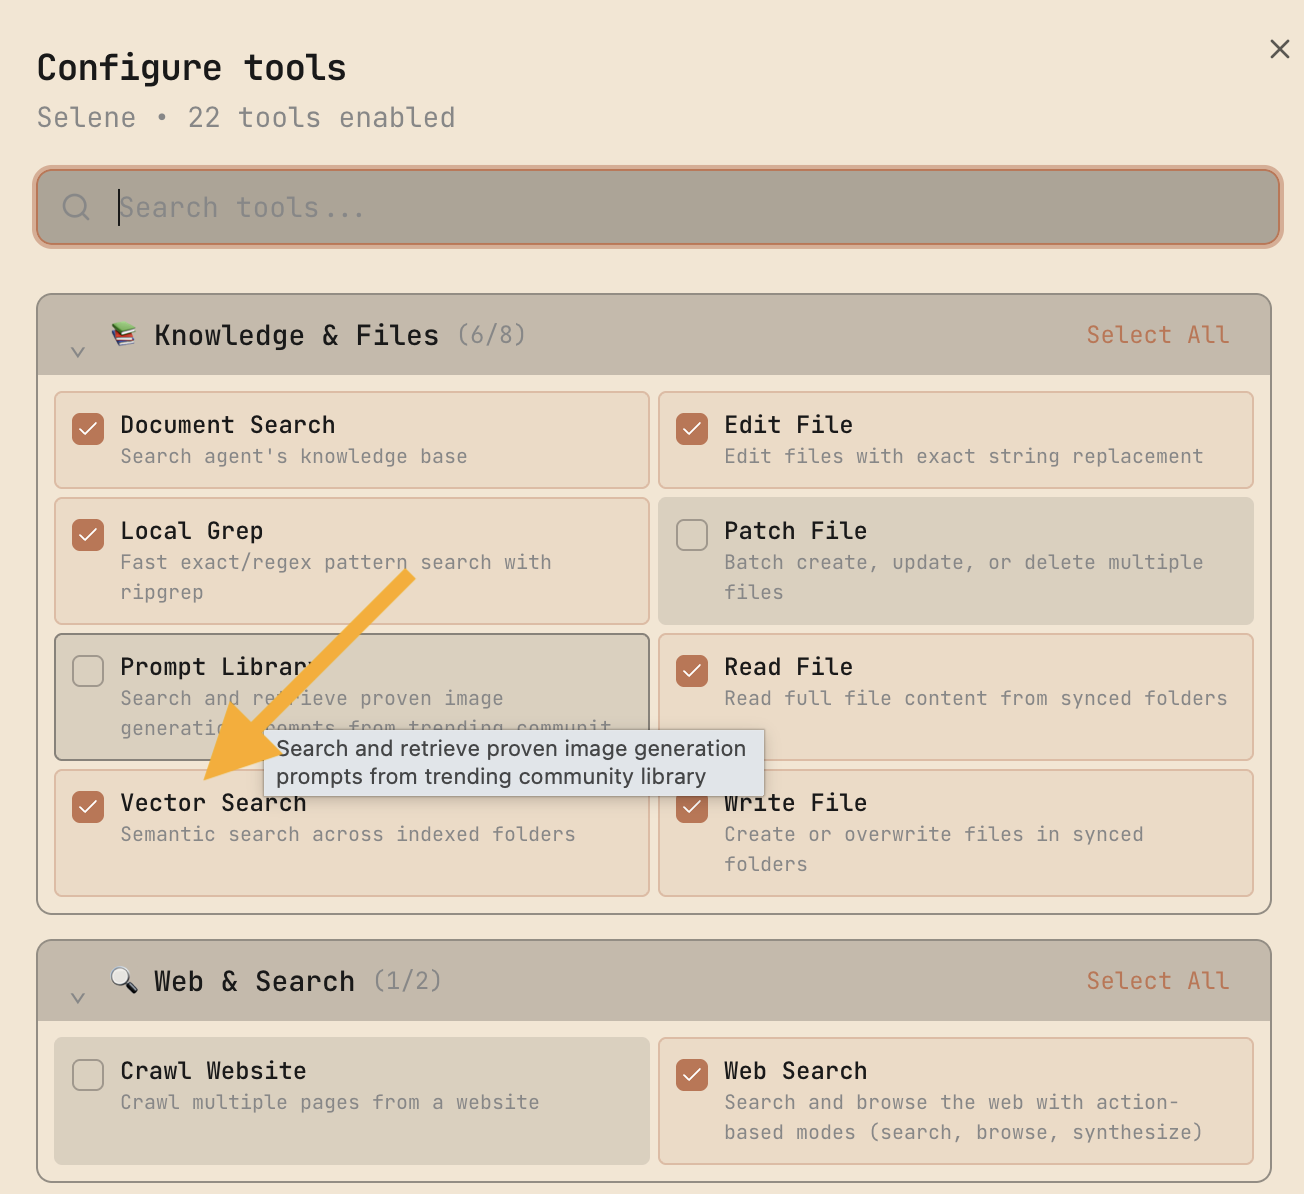
Indexing Your Project
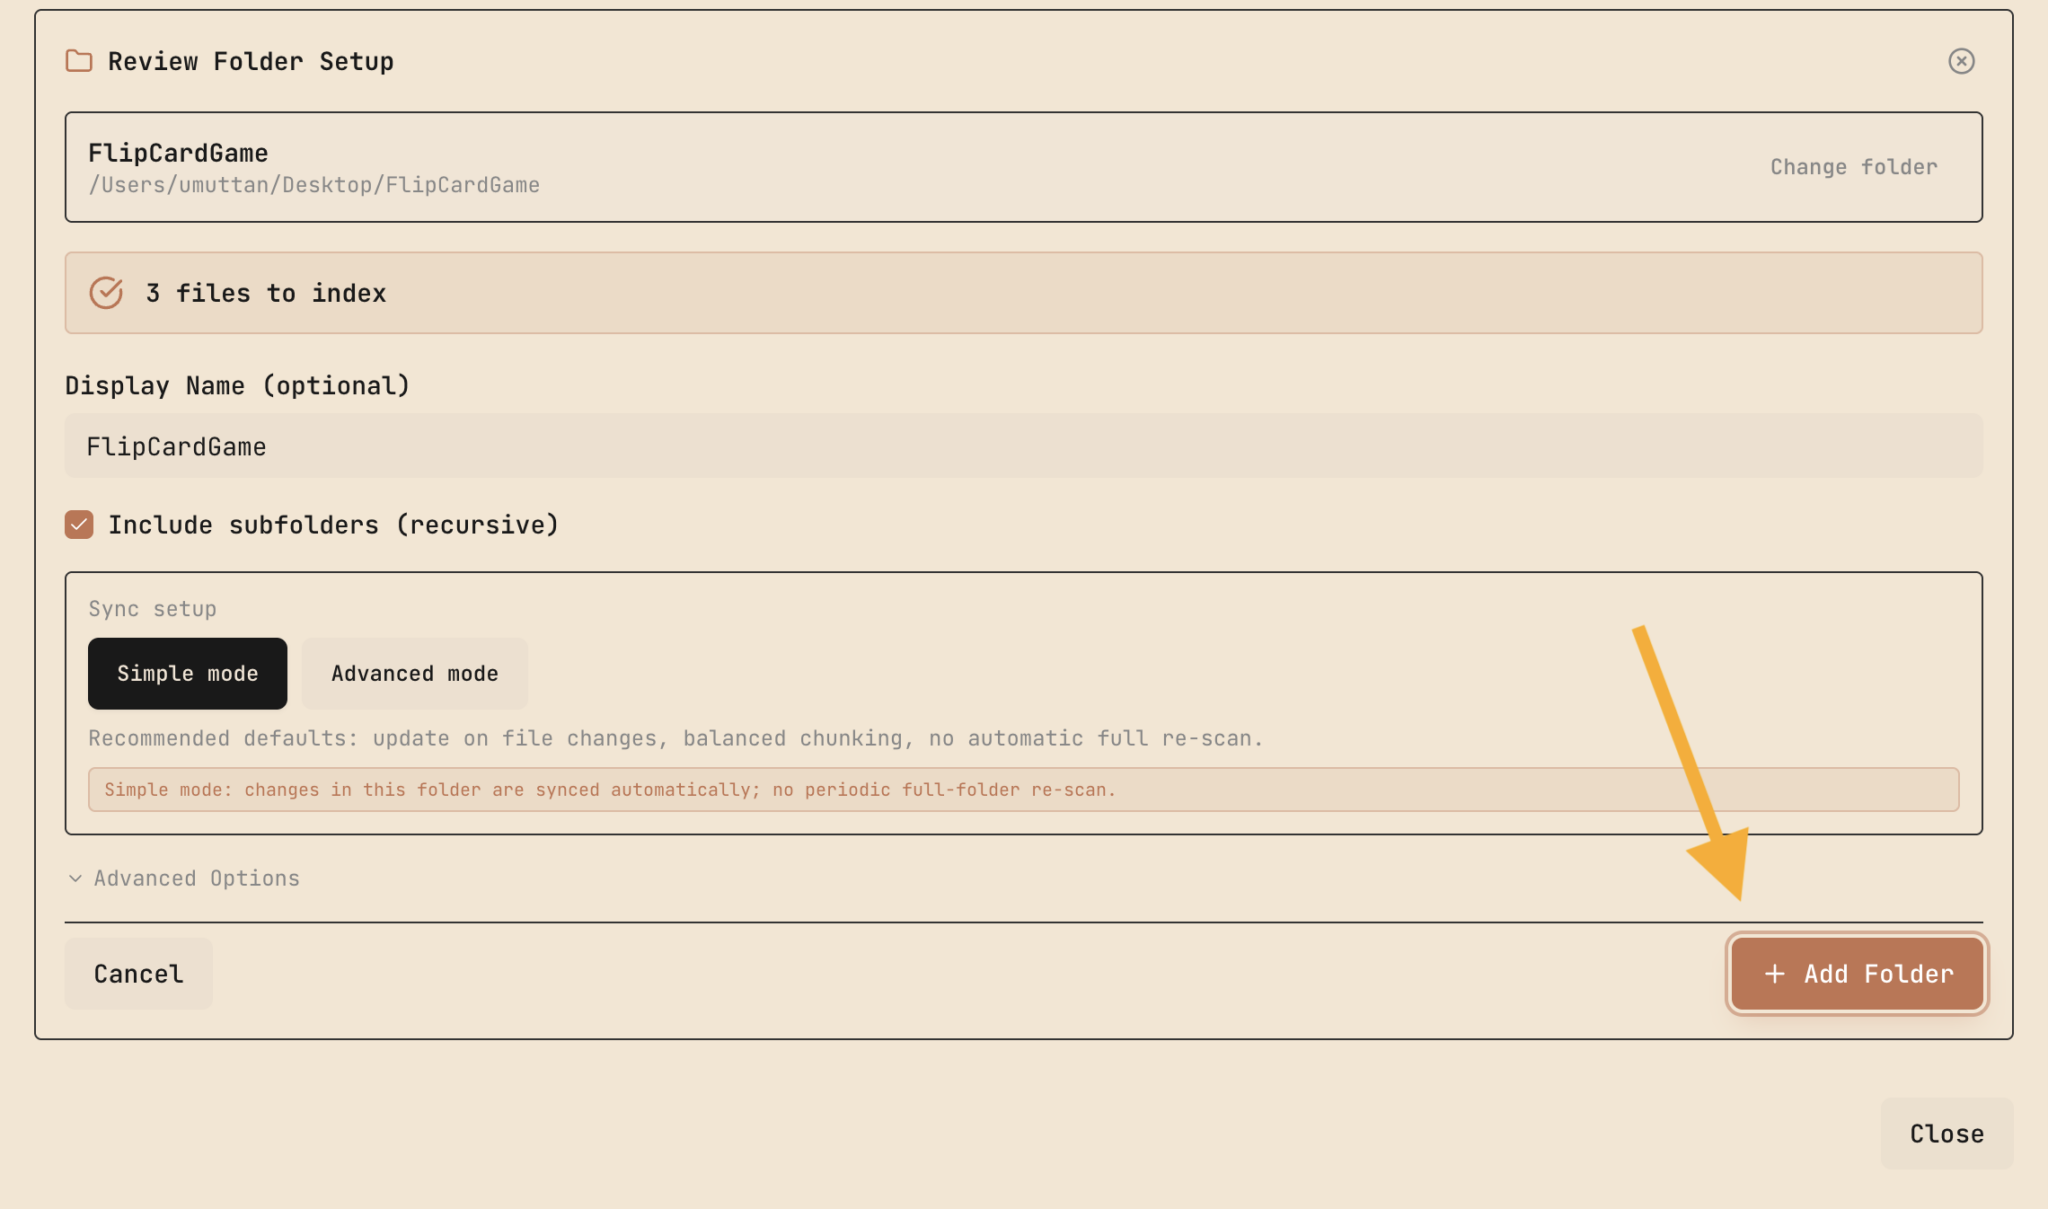
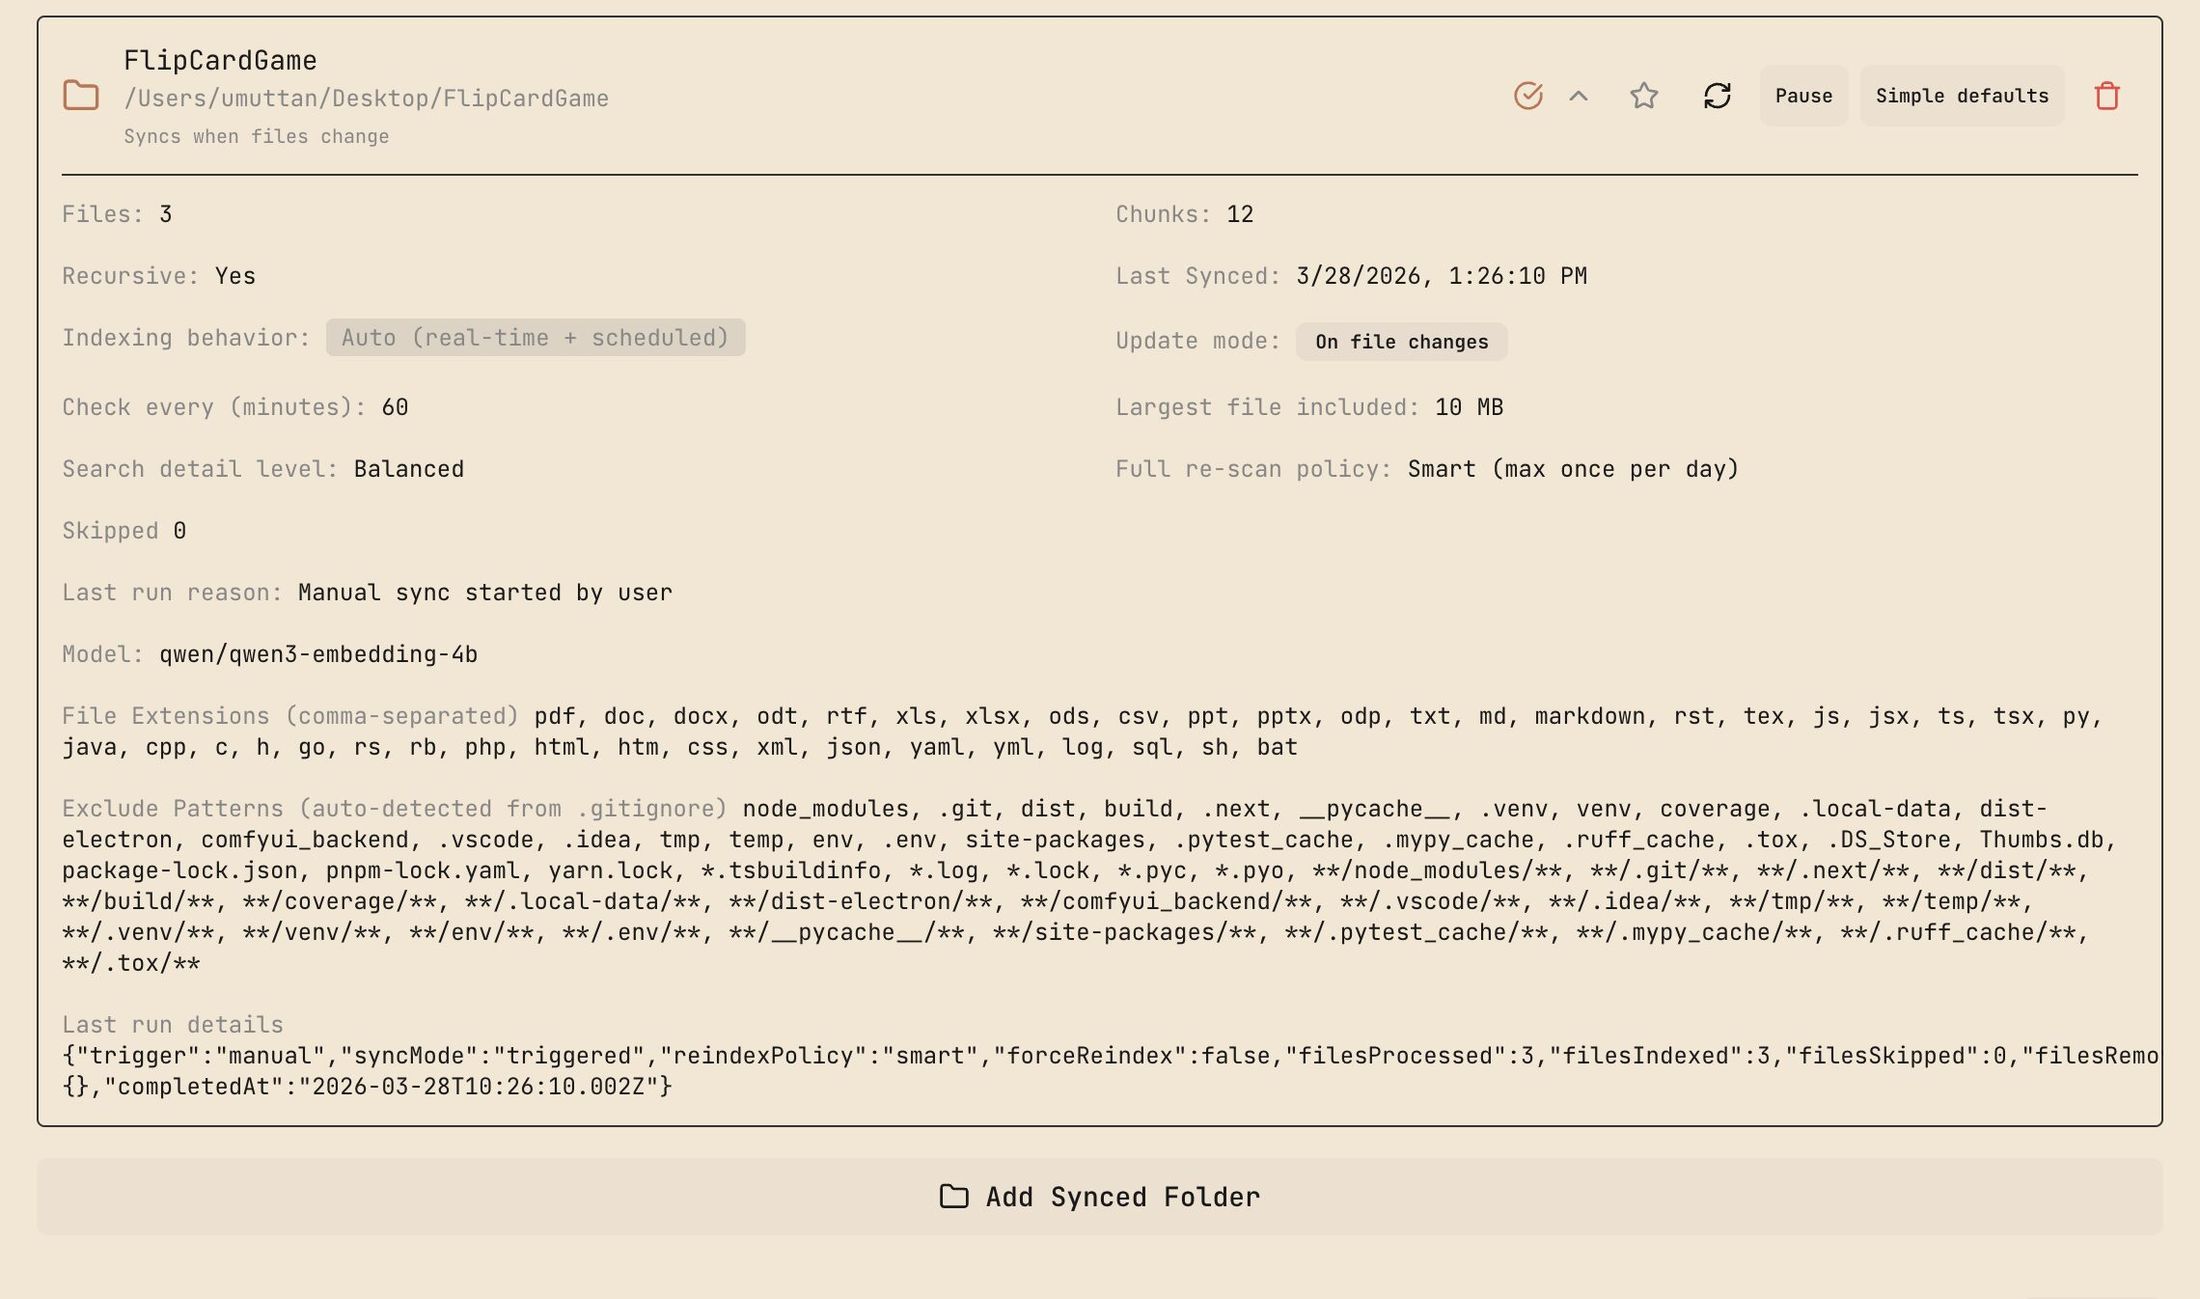
Click Folders in the top-left and select the directory your agent should work with.
Before adding files, you can configure the Vector Embedding engine. This is optional — skip it for small projects and just add files directly. But here's what it does:
The engine converts your files into vector embeddings. When the AI needs to find something across hundreds of files, it queries these embeddings through a lightweight helper model instead of scanning everything sequentially. A file watcher keeps the index updated as you edit or add files.
For scale reference: this has been tested across 200+ documents, each with dozens to hundreds of pages. Medical research papers. Single query, relevant answer in 20 seconds.
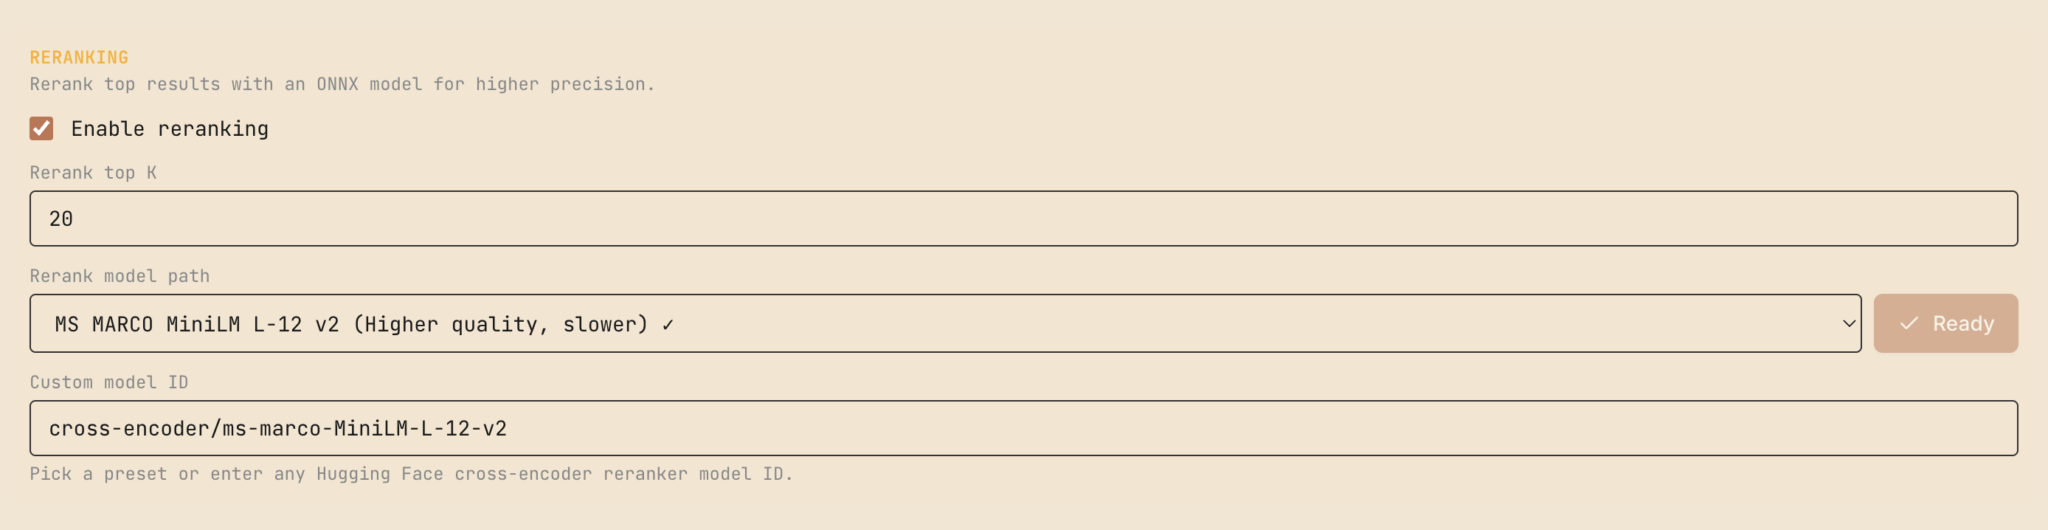
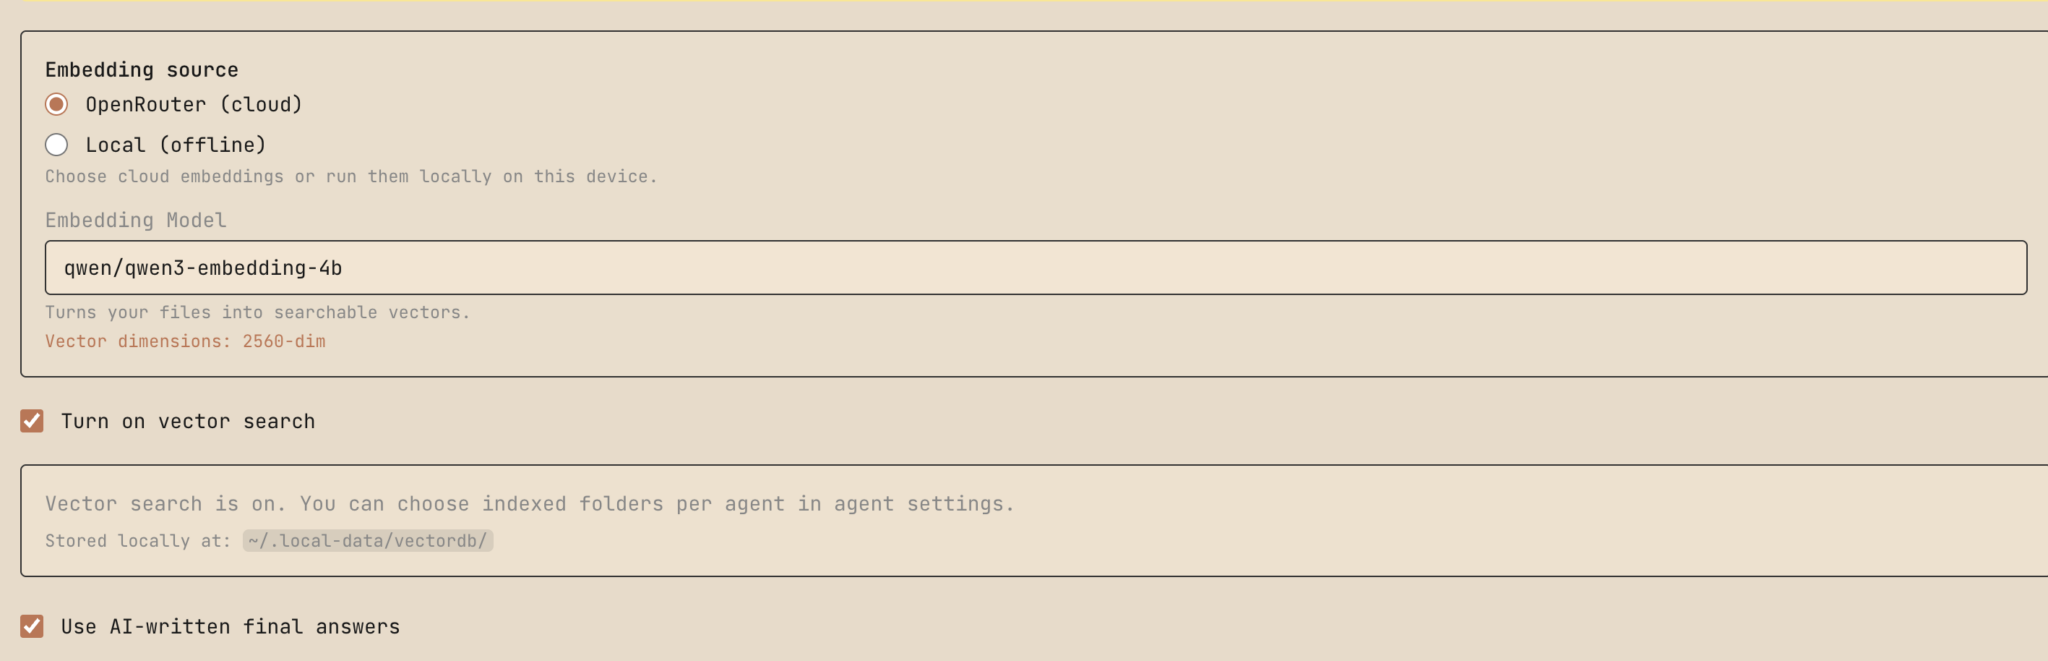
Configuring Semantic Search
Go to Settings → Semantic Search and configure:
Provider: OpenRouter API is recommended — fast and cheap. Local embedding works but is slower. Add your API key under AI Providers if using OpenRouter.
Embedding Model: Qwen3 works well. Set it once and leave it alone — changing the embedding model forces a full re-index of all synced folders.
Toggle on: Vector Search, AI-written final answers, and Reranking (optional, improves result quality).
Save settings and go back.
Building the App
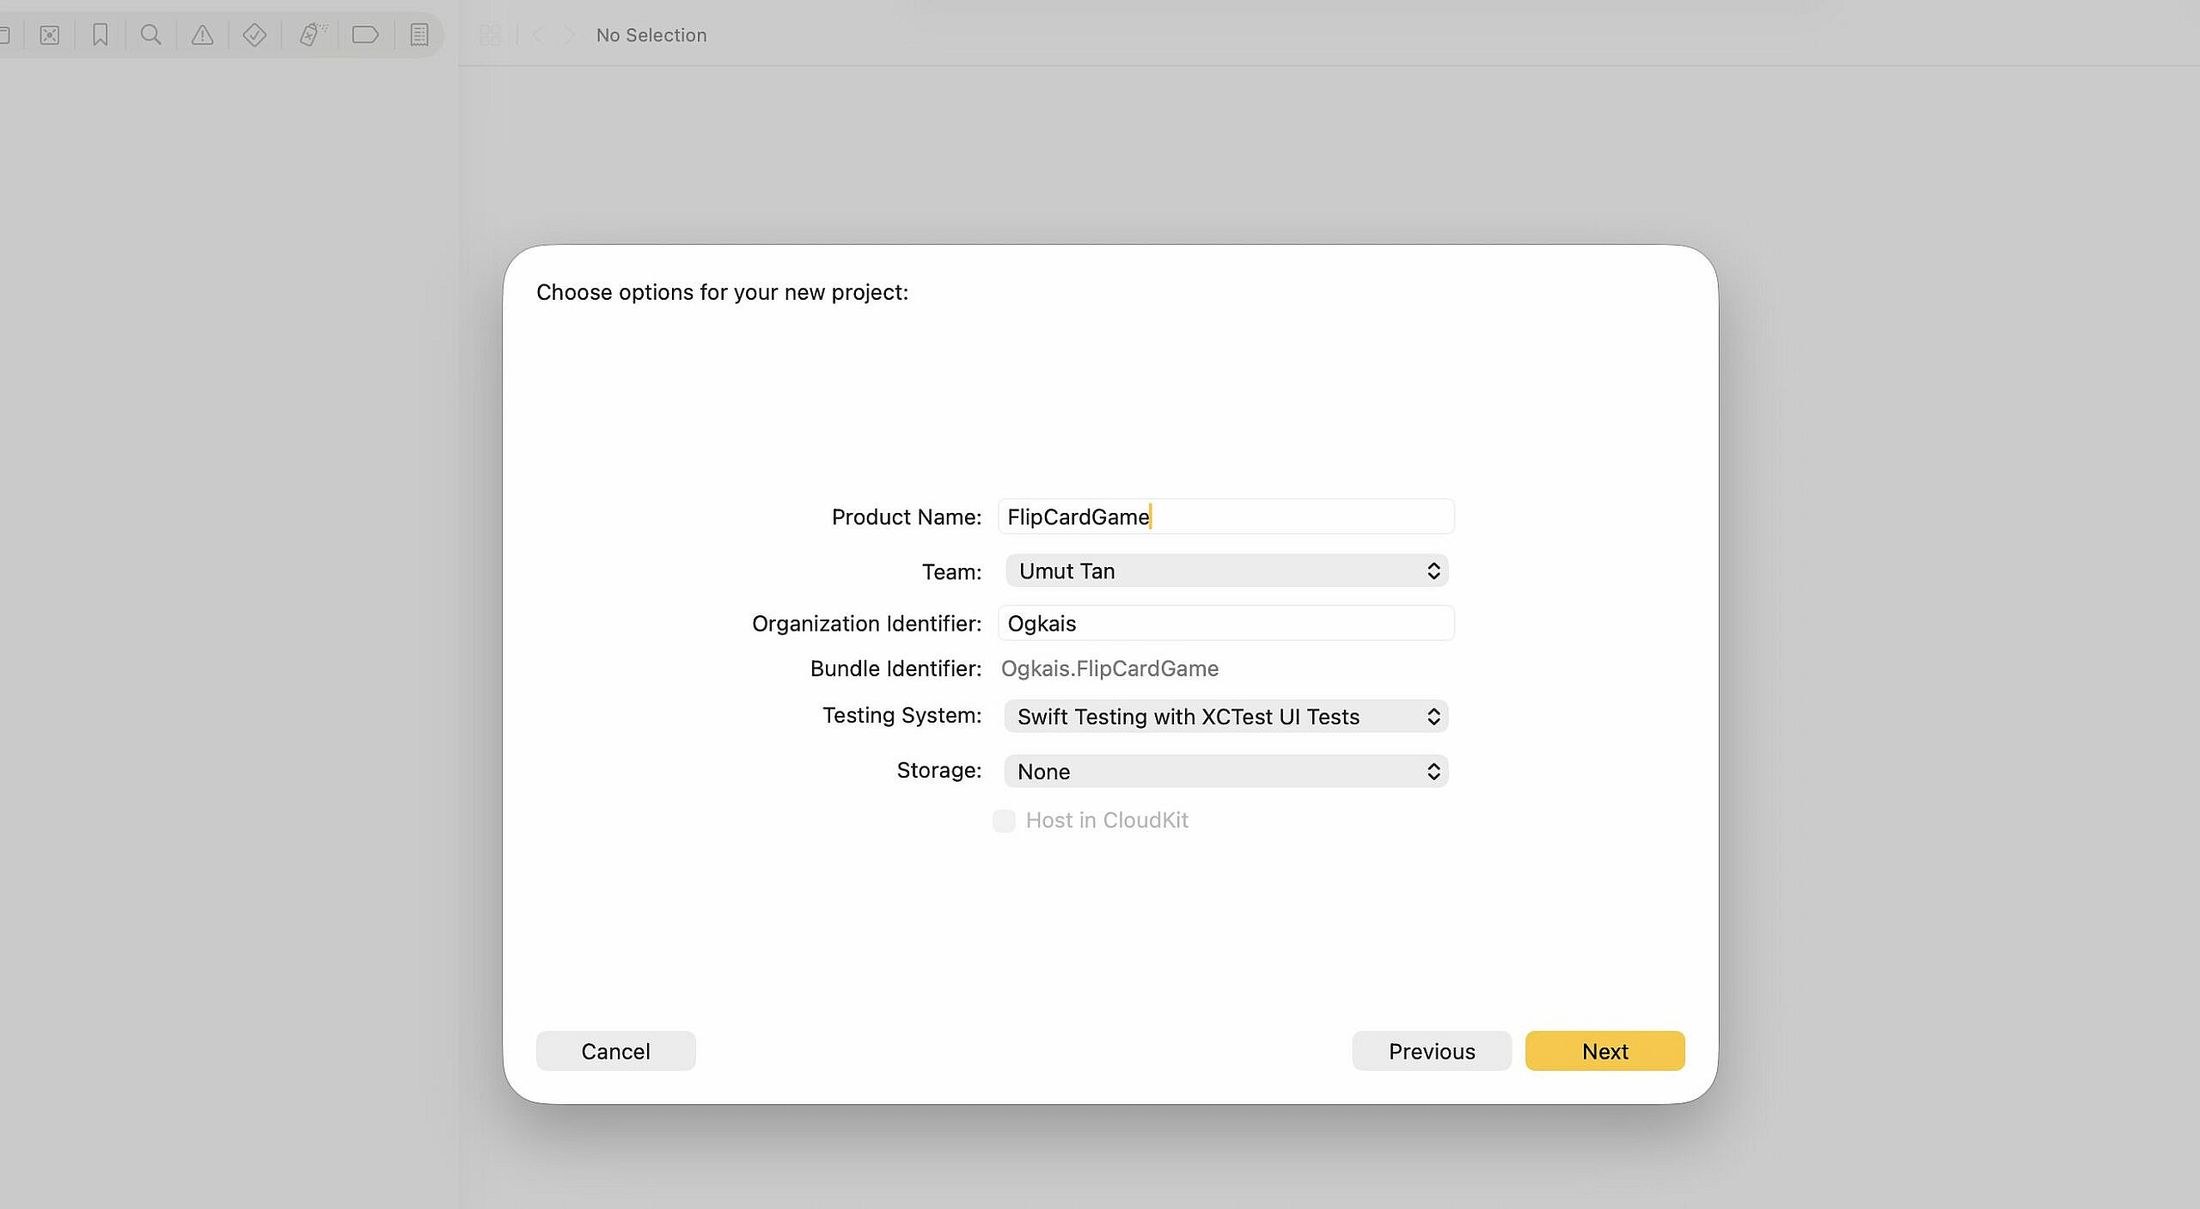
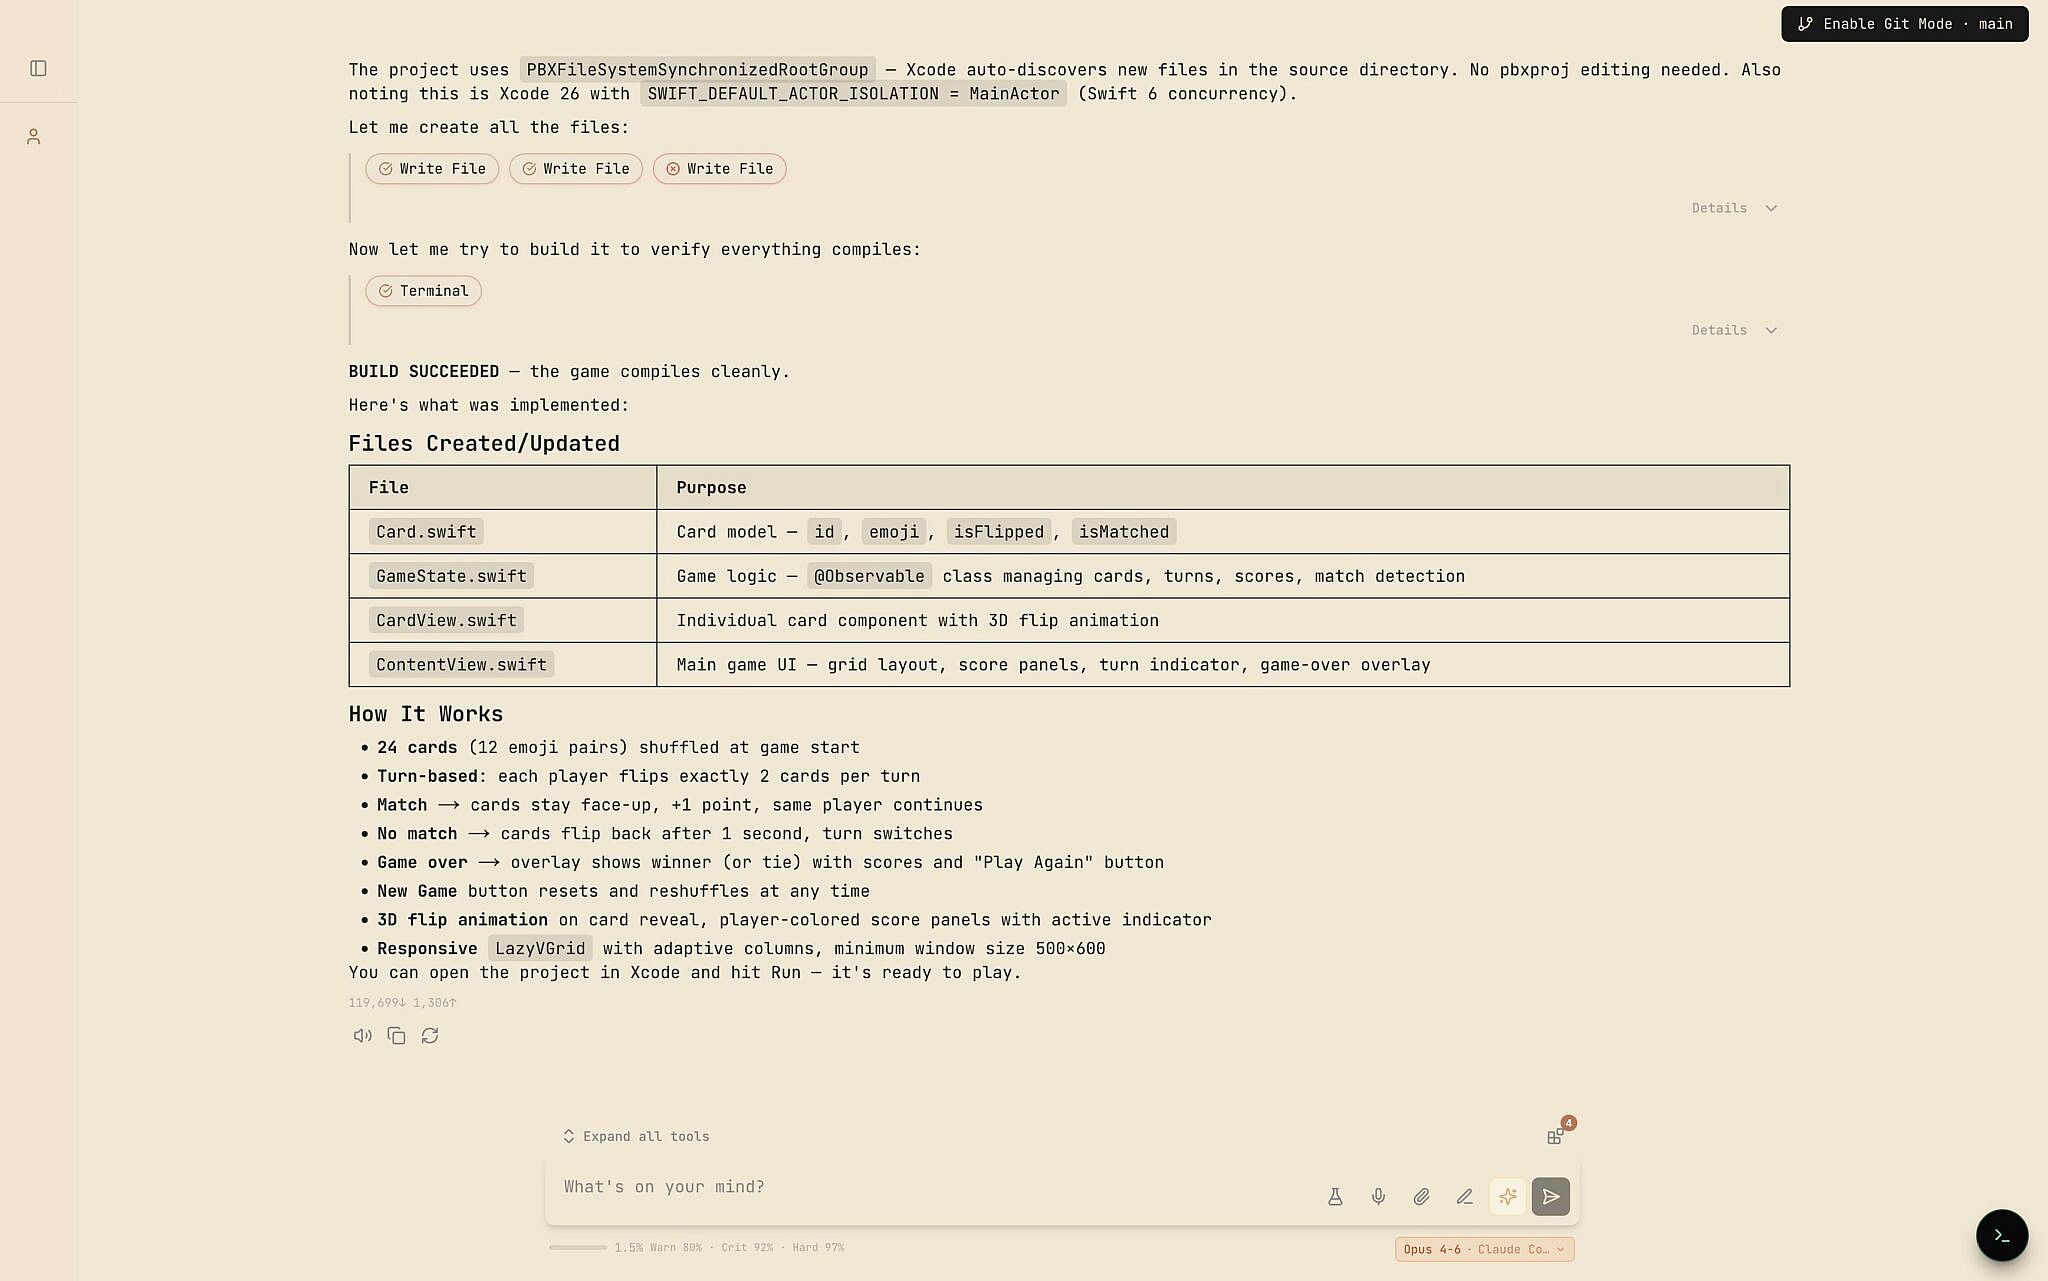
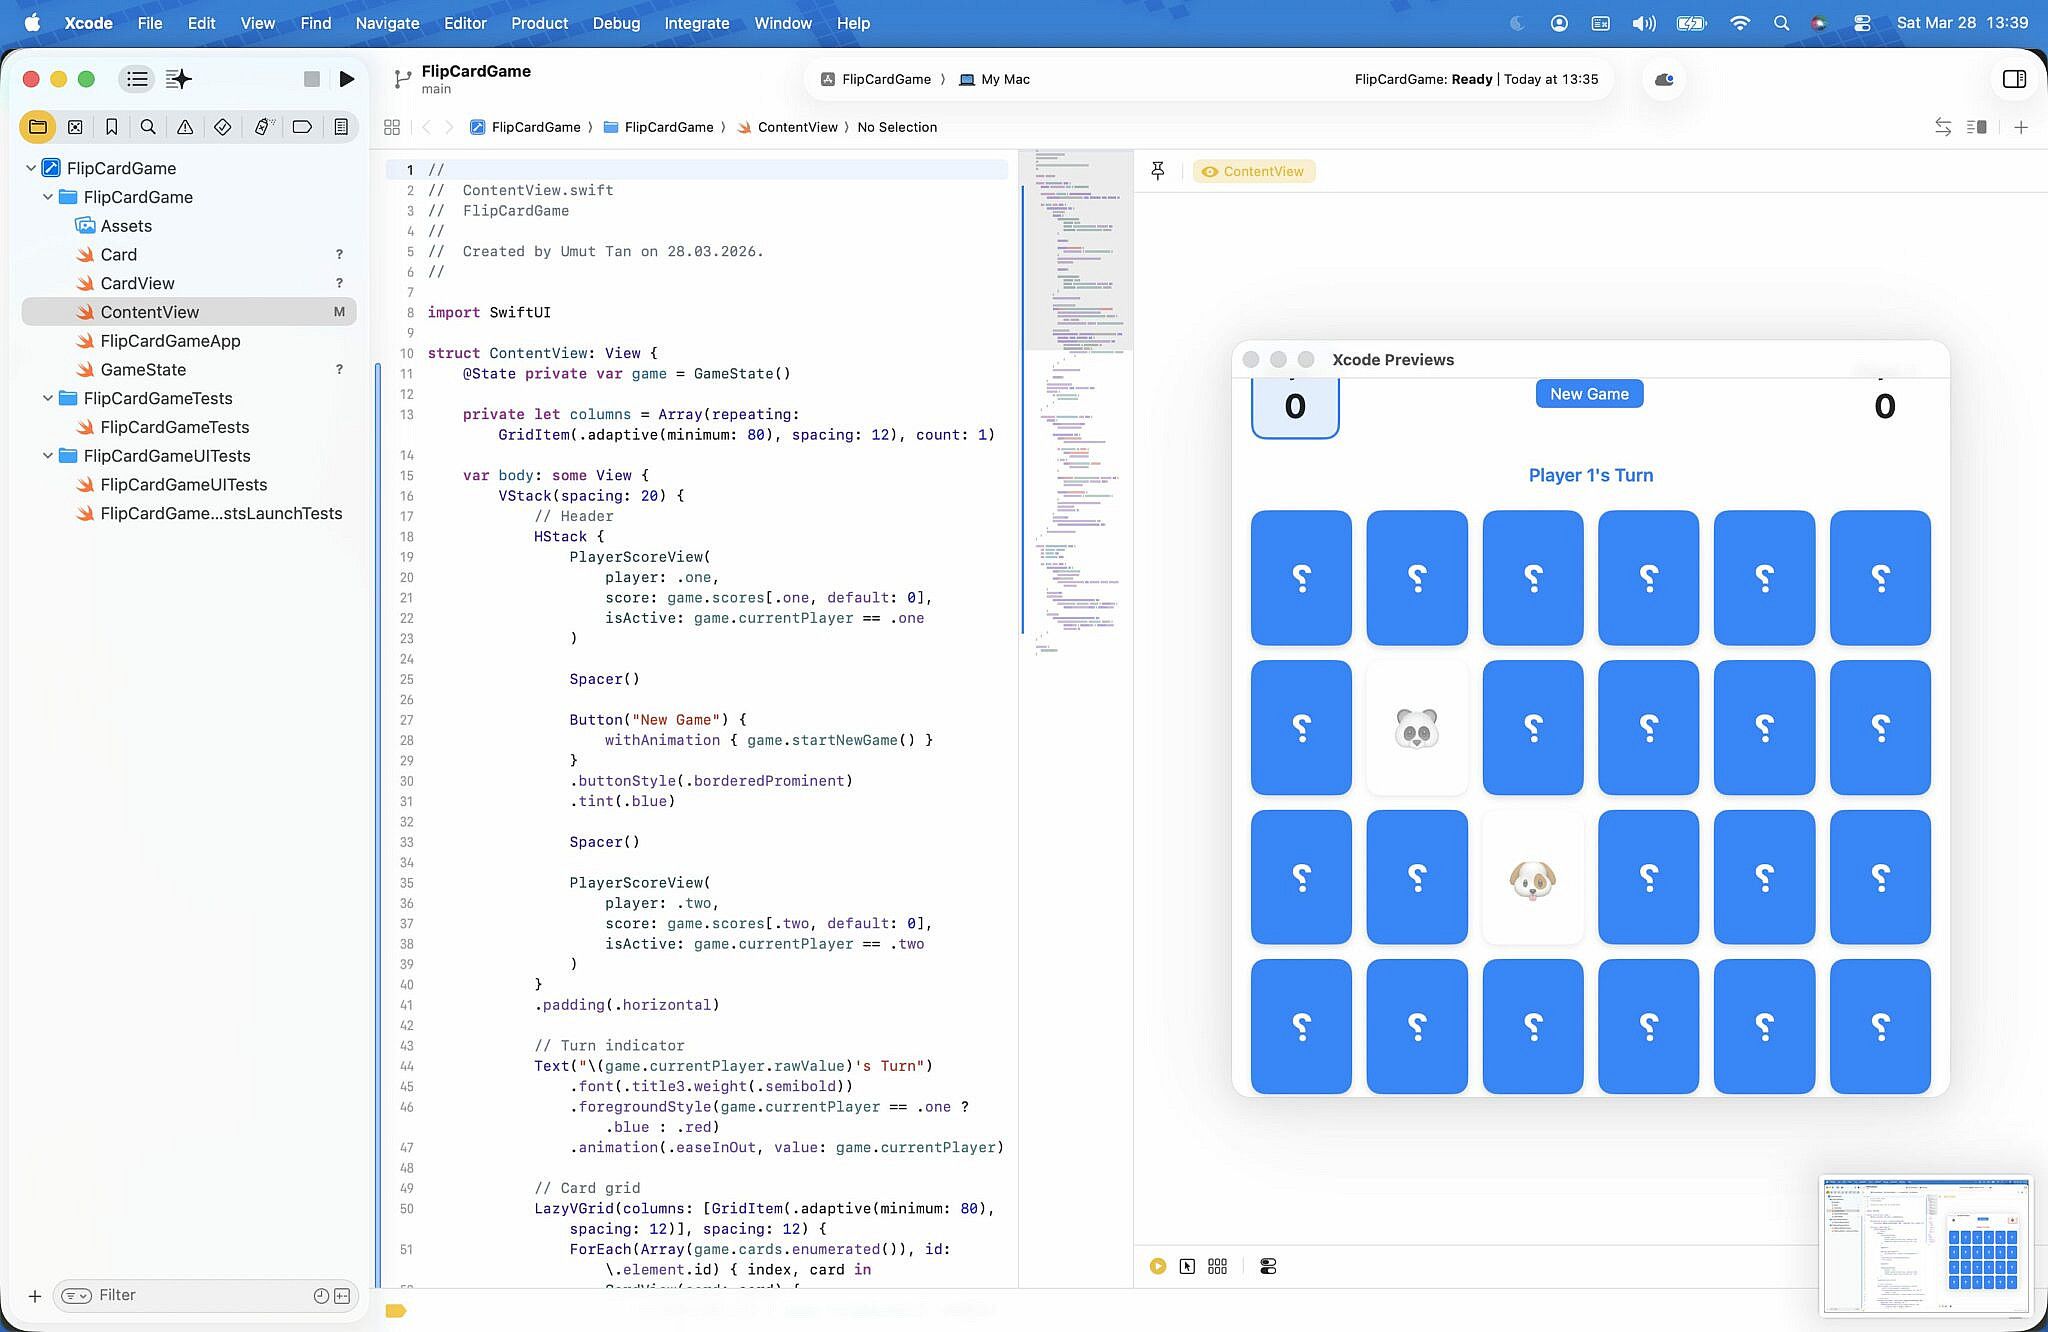
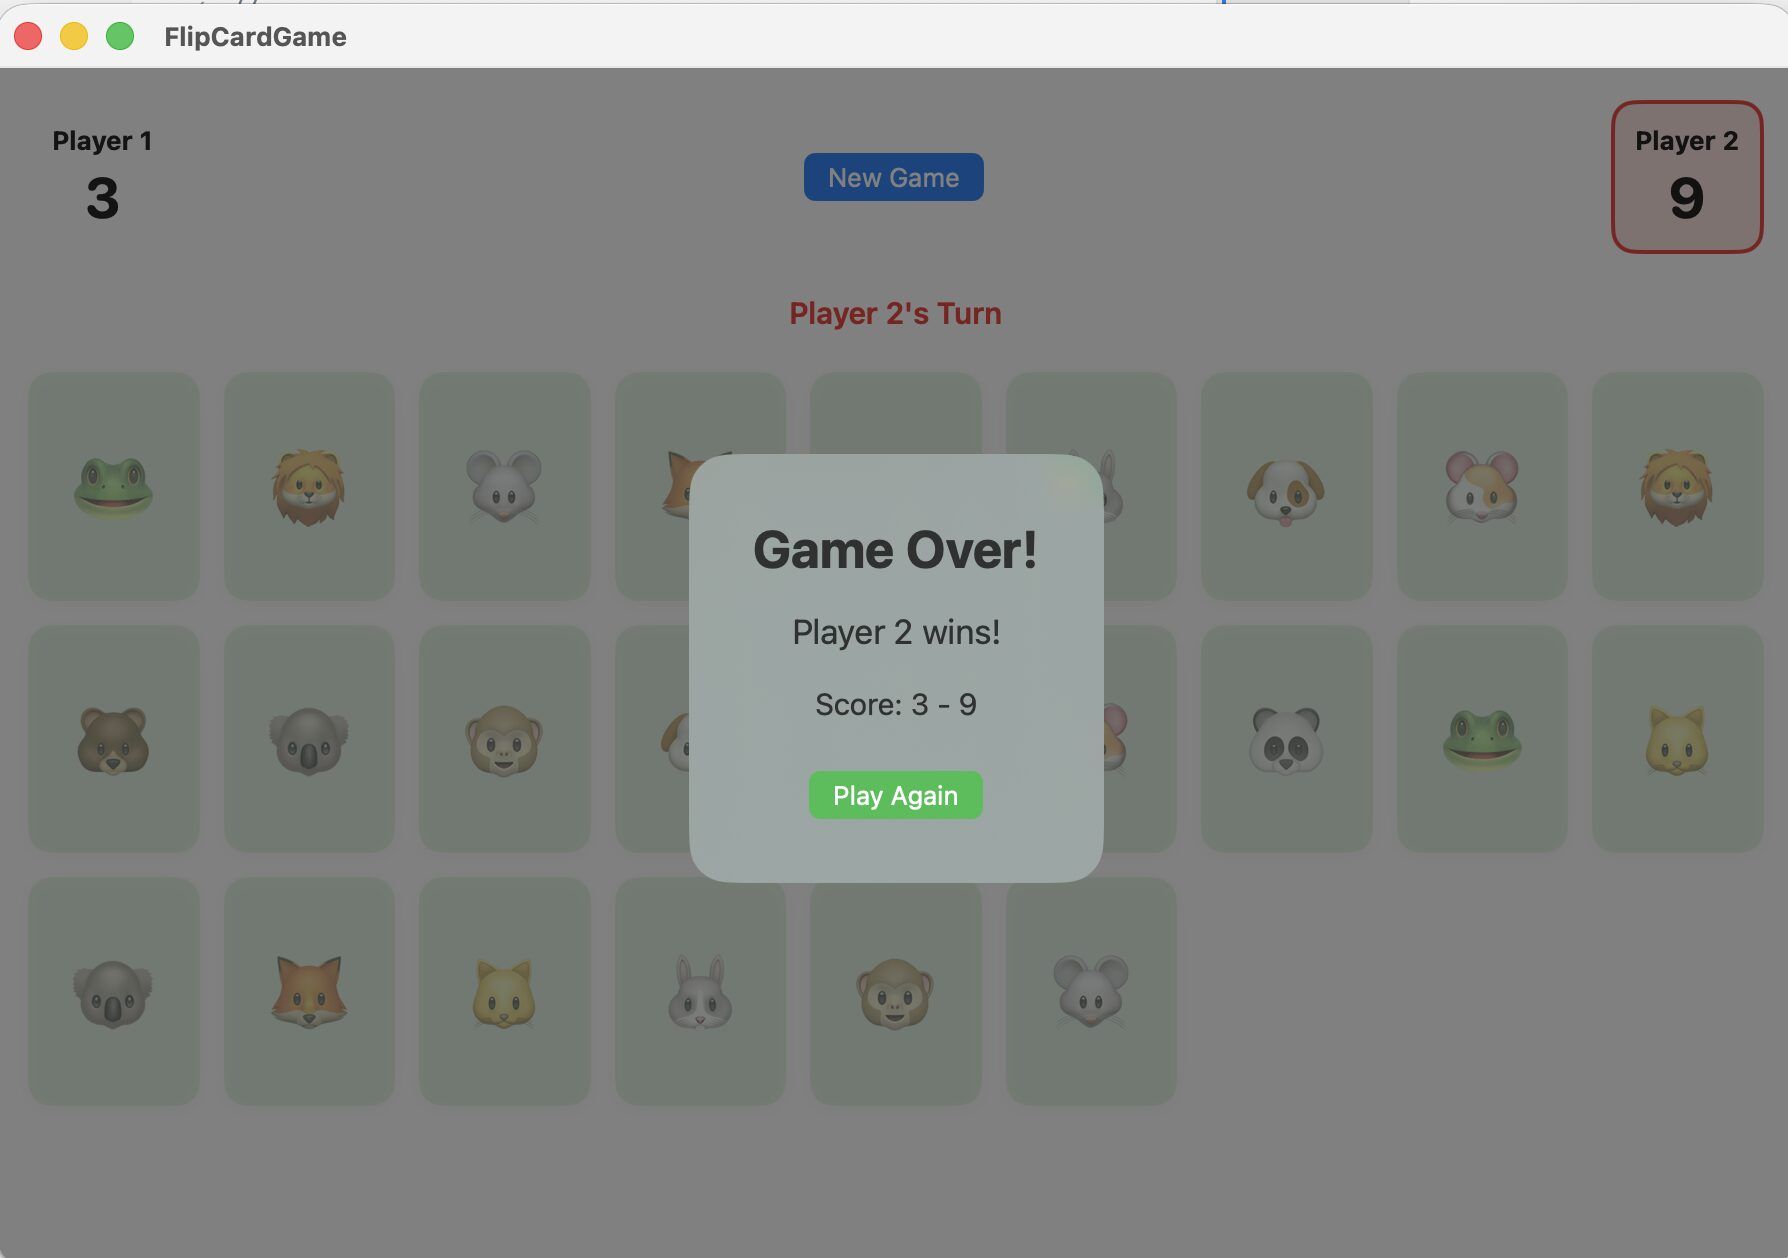
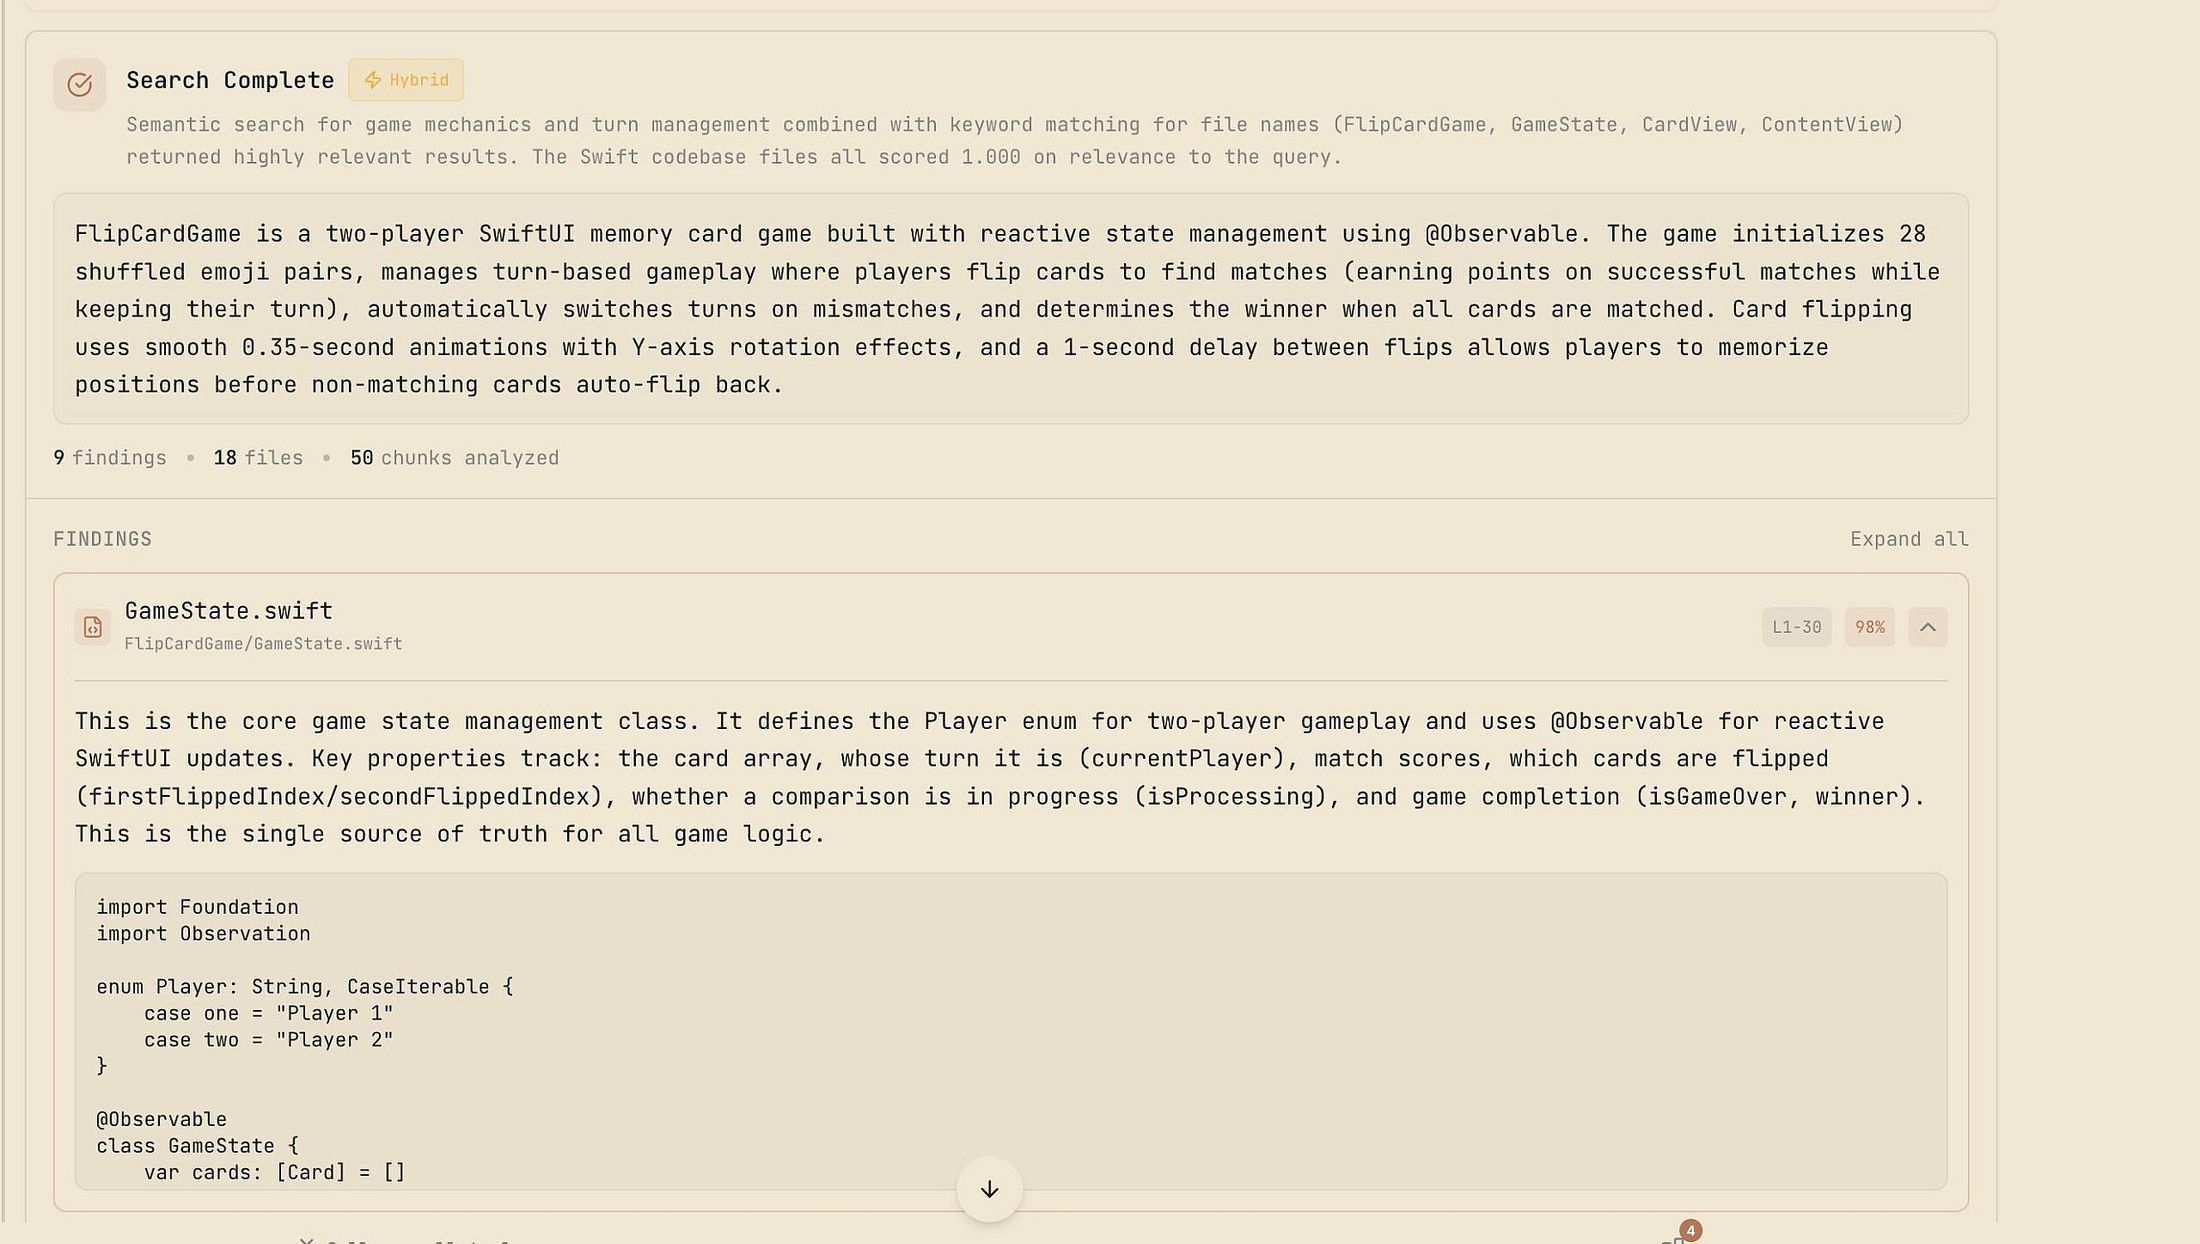
For this walkthrough: a Flip the Card game in Swift. Two players, simple mechanics.
Create the Swift project in Xcode, add the project folder to Selene, and let it index.

Back in the chat, confirm Vector Search is enabled from the three-dot menu in the top-left.
Prompt Enhancement
Write a basic prompt — something like "Build a Flip the Card game for two players" — then hit the Enhance button.
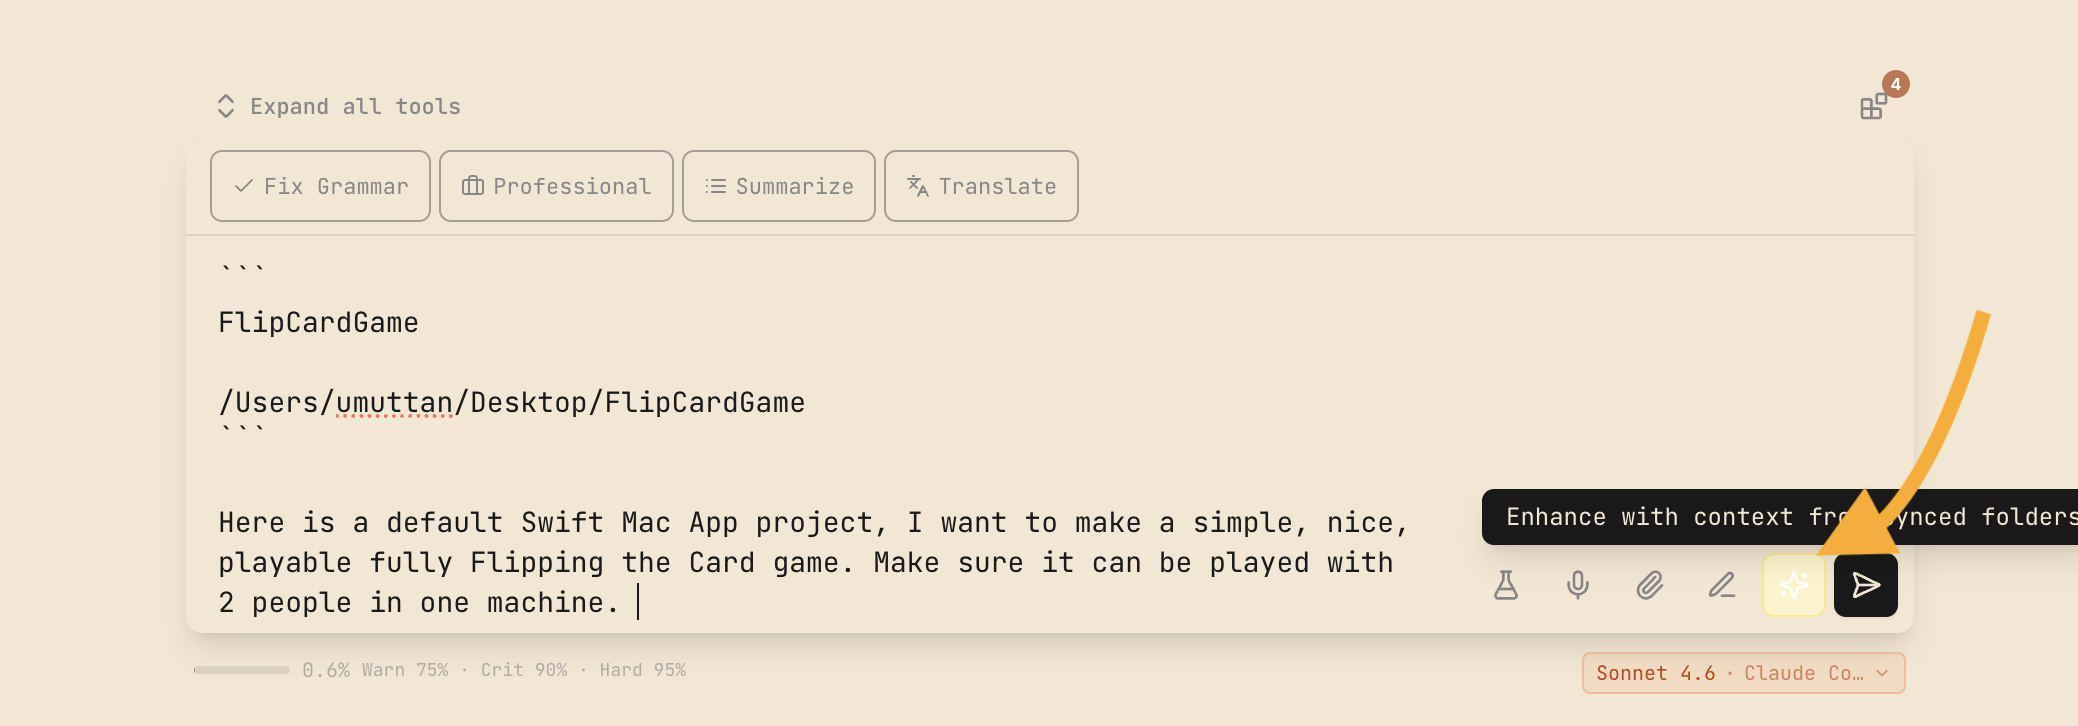
Enhance is a pipeline that looks at your indexed files, chat history, and agent memory to expand your prompt into something structured and specific. A two-sentence request becomes a detailed spec with architecture considerations, UI requirements, and game logic breakdown.
Review the enhanced prompt before sending. It's a draft, not gospel.
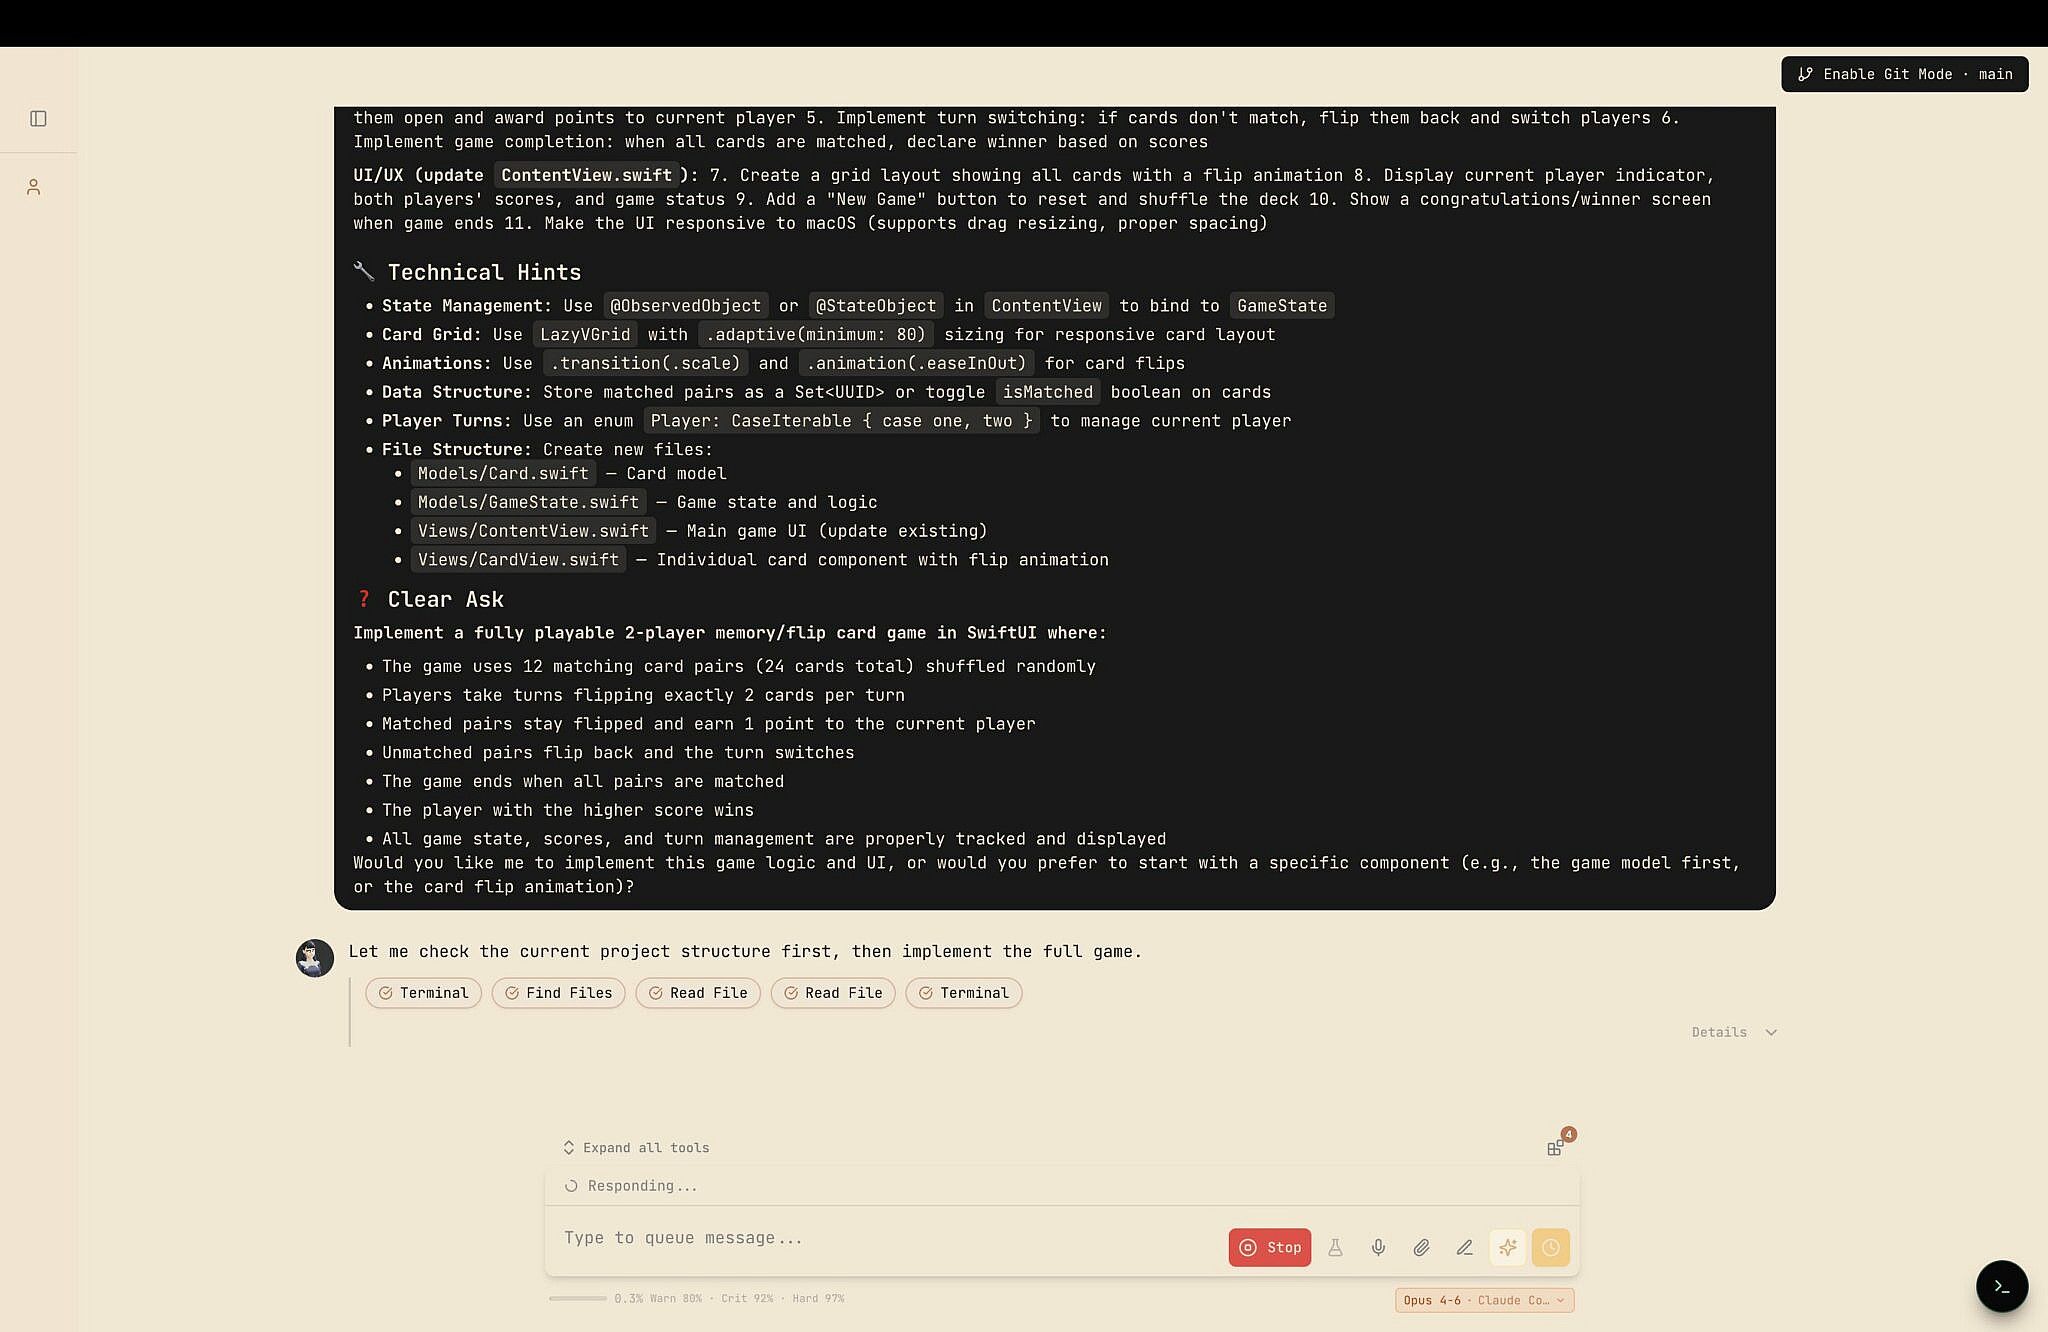
The Result
The agent had the game built before this section was finished writing.
How Vector Search Fits In
The Vector Search pipeline has two modes:
Prompt Enhancement — Enriches your initial prompts with context from your codebase and documents.
Vector Search Tool — Available to the agent during execution, so it can look up relevant code and docs without crawling through files step by step.
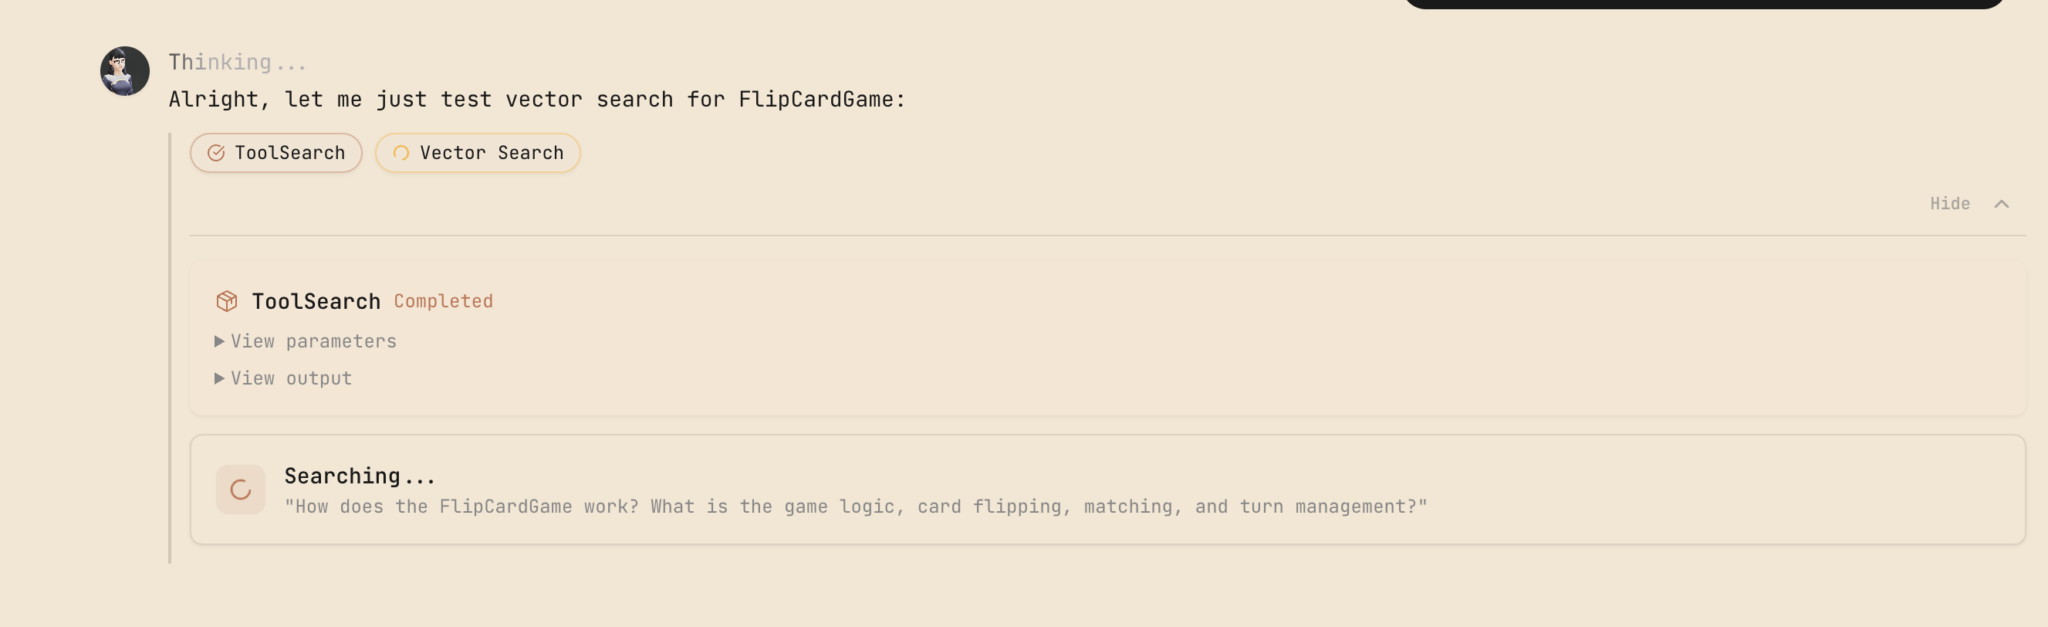
For small projects, this is overhead. For large codebases, it's the difference between an agent that spins its wheels for 30 steps and one that finds what it needs in a single query.